The display of popular posts in WordPress helps increase user interaction, page views, and conversions by making it easy for users to find the best content on a website. As the website grows, older posts may receive less attention, but displaying popular posts by day, week, month, or all-time can add variety and promote exposure to a wider range of articles. This article explains how to display popular posts in WordPress in these different time frames.
Why Does WordPress Display Popular Posts?
Since there isn’t much content when you first start a WordPress blog, you can manually display a few posts in a sidebar widget.
But when your website gets bigger, you’ll see that the older posts get less attention. You make it simple for new visitors to your website to find the best articles by highlighting your best content. This promotes page views and user engagement on your website.
The issue now is that only a small group of articles receive recurrent exposure if you display your all-time popular articles. By showing popular posts by day, week, or month, you may add variety.
Let’s look at how simple it is to display WordPress’ most popular posts by day, week, month, or all time.
Adding Popular Posts by Day, Week, and Month in WordPress
Using MonsterInsights is the best strategy to display popular content in WordPress. It assists you in setting up Google Analytics without having to alter code and is the best analytics plugin for WordPress.
Due to its ability to automatically display the most popular posts from Google Analytics, the MonsterInsights Pro edition will be used for this tutorial.
There is also a free version of MonsterInsights Lite that has the Popular Posts function but excludes GA.
Installing and turning on the MonsterInsights plugin is the first step.
You will be taken to the MonsterInsights welcome screen after activation. Click the “Launch the Wizard” button now.

Following that, you can configure Google Analytics by following the steps that appear on the screen.
You can also set up a Google Analytics 4 property using MonsterInsights. This is Analytics’ most recent version. After July 1, 2023, you won’t be able to track website data using the prior version of Universal Analytics. The best time to upgrade to Google Analytics 4 and secure your data is right now.
Going to Insights » Popular Posts from your WordPress dashboard is the next step once Google Analytics has been installed to your website.
If you have an online store, MonsterInsights enables you to display your top articles as widgets in the sidebar and within the content, as well as popular products.
We’ll use “Inline Popular Entries” in this tutorial to display featured articles within the text of other blog posts.

You may see a preview of how your most popular content will appear on the website and the plugin comes with prebuilt themes.
Simply scroll down to discover more customization choices after selecting a theme. You can alter the label and background colors, adjust the color of the title and its size, and more.
Display popular posts by day, week, month, and all time
The plugin will determine your most popular posts, therefore you must next decide how it will do so. Let’s check out your ability to display postings by day, week, month, and overall.
Popular Posts Shown by Day, Week, and Overall
You can choose manually which posts display in the Popular Posts widget in MonsterInsights.
When showing the most popular content from a particular day or week, this is helpful. Additionally, you can display your website’s top articles wherever you choose.
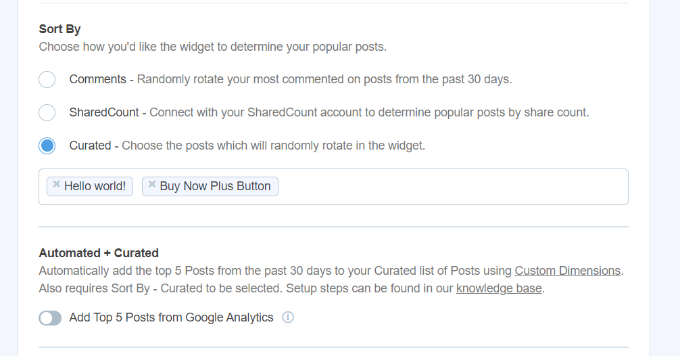
Simply choose the articles you want to feature by selecting the ‘Curated’ option beneath the Sort By column.
These may include your own content, recurring announcements or news, popular subjects from a specific day, and more.
Simply start typing the names of the posts you wish to add, and when their names appear in the field, click them to choose them. Simply select your top posts from the past to have them displayed consistently as popular posts as long as “Curated” is chosen.
To keep this curated content interesting for your audience, you will need to manually alter some of them if you want to show popular posts by the day or the week.
For instance, you will need to decide which posts are shown under “Curated” each week if you feature various WooCommerce products on a weekly basis.
Popular Posts by Month and All Time are shown.
You have a variety of choices in MonsterInsights to automatically display the most popular posts overall and by month.
By choosing the ‘Comments’ option, you can first see the pages with the most comments from the previous 30 days. The most popular blog posts will be displayed in the popular post widget in a random rotation by the plugin.

The ‘SharedCount’ option in MonsterInsights allows you to automatically display popular content based on social media shares.
It allows you display your all-time most shared articles and combines with SharedCount. People can quickly locate content that promotes social involvement in this way.

The top 5 posts from Google Analytics over the previous 30 days are another option provided by MonsterInsights. On your website, you may use this method to display the best content from the previous month or all time.
You must first choose the ‘Curated’ option from the ‘Sort By’ column.
Then, under the Automated + Curated area, you may enable the “Add Top 5 Posts from Google Analytics” option.
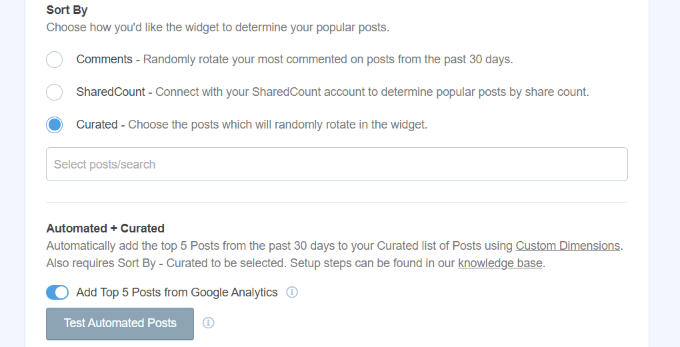
Click the “Test Automated Posts” button under “Automated + Curated” to make sure Google Analytics is retrieving your data.
Now a pop-up notification confirming the successful retrieval of the well-liked posts will appear. Clicking the “Close” button is an option.
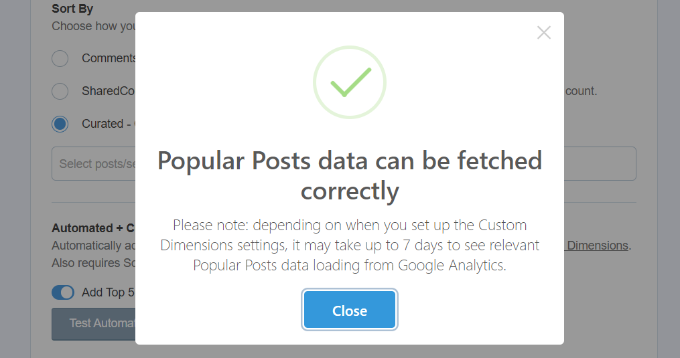
Please be aware that in order to use the Automated + Curated feature, you must configure the “Post Type” custom dimensions in MonsterInsights and Google Analytics.
Custom dimensions are extra metrics that Google Analytics lets you monitor.
Insert Popular Posts to Your WordPress Website
The next step is to choose how you want to insert the featured articles.
Manual placement and automatic placement are the two options provided by MonsterInsights.
If you choose the “Automatic” option, you can specify the word count at which the well-known post widget should show. The option to include and remove pages from the display of featured posts is also available.

When finished, simply click the “Save Changes” button at the top of the page.
By doing this, your preferences will be remembered, and MonsterInsights will show the most popular blog entries on your website automatically.

On the other side, by including the MonsterInsights block or utilising a shortcode, you may also display popular content in any blog post.
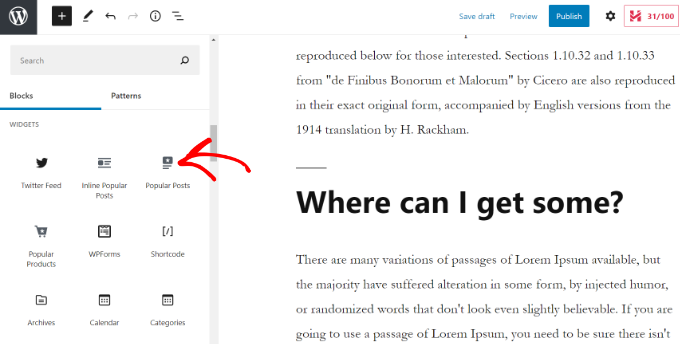
Start by adding a new post or editing an existing one. By clicking the ‘+’ button, you can add the ‘Popular Posts’ block to your content editor.
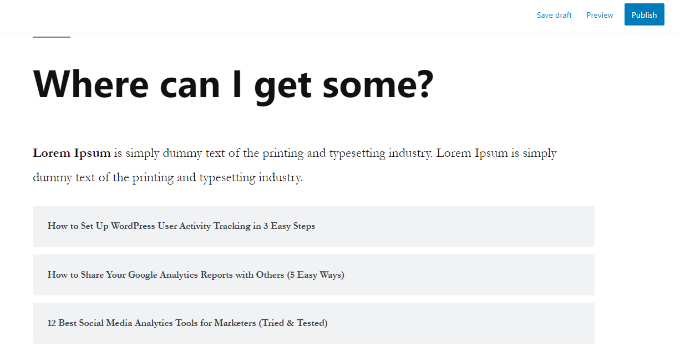
The content editor will then display a preview of your featured articles.
You can publish your content once you’re happy with the widget’s appearance.
We hope, this article has assisted you in displaying popular posts in WordPress by day, week, month, and all time.
