One of the most frequent WordPress issues is the internal server error. Many novices find the mistake to be highly annoying because it provides no additional information. We will demonstrate how to quickly fix the WordPress 500 internal server error in this article.
The 500 Internal Server Error
The 500 internal server error is a frequent web server issue. It is not limited to WordPress websites and can occur on any website. Technically, the 500 in the error message is an HTTP error code. When you look up this code, you will only get its standard description.
Whenever a 500 Internal Server Error response code is returned, it indicates that the server encountered an unexpected condition.
This is a catch-all error message, which means that the server was unable to assign a more helpful error message when the problem occurred. The error page appears differently depending on the web server software (Nginx or Apache) and browser you are using.
This is an example of an Apache error page.

If Google Chrome is unable to locate an error page to display, it will appear differently:
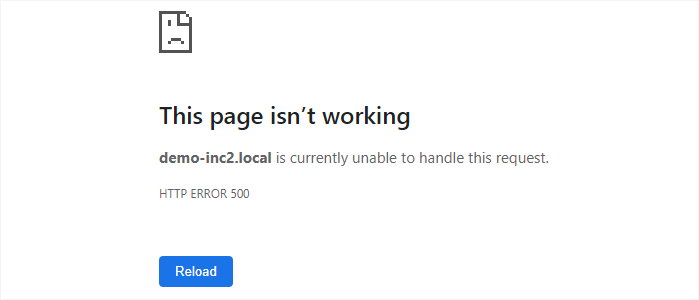
This can be extremely frustrating for beginners. There is no hint or message pointing them in the right direction to quickly resolve the issue.
What Causes an Internal Server Error in WordPress?
The 500 Internal Server Error that occurs in WordPress can often be traced back to several common sources. These may include a corrupt or malfunctioning .htaccess file, plugins that are poorly coded and incompatible with your site, or issues with the WordPress theme that is currently in use. Additionally, the error may be caused by a limited PHP memory allowance or problems with core WordPress files that have become damaged or corrupted.
In some cases, the internal server error may only appear when attempting to access the WordPress admin area, while the rest of the site functions normally.
Fixing WordPress’s 500 Internal Server Error
Make sure you have a complete WordPress backup of your website on hand before you start debugging. You can use a WordPress backup plugin to create an exact backup of your website if you have access to the WordPress admin area. To handle this, Duplicator is advised.
On the other hand, you can manually build a WordPress backup using phpMyAdmin and an FTP client if you don’t have access to the WordPress admin area. Following that, you can take the next few actions to investigate and resolve the internal server error on your website.
#Browser and WordPress Cache Clearing
It’s possible for browsers and your WordPress caching plugins to inadvertently keep a cached version of an error page.
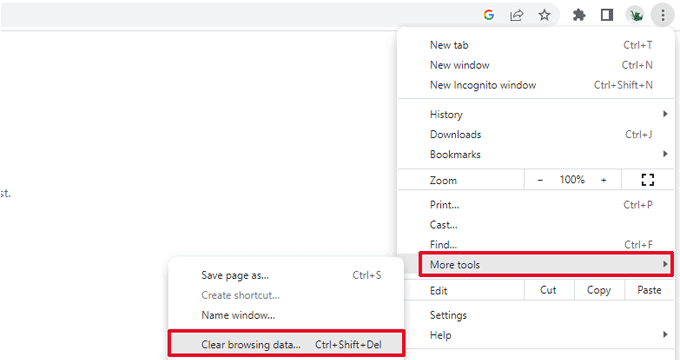
The simplest solution is to first erase the cache on your browser.
After that, you may clear the WordPress cache by going to the settings page of your caching plugin if you have access to the WordPress admin area of your website.
#Checking for Damaged.htaccess File
WordPress also uses the.htaccess file, a server configuration file, to set up redirects. The corrupt.htaccess file is one of the most frequent causes of the internal server error.
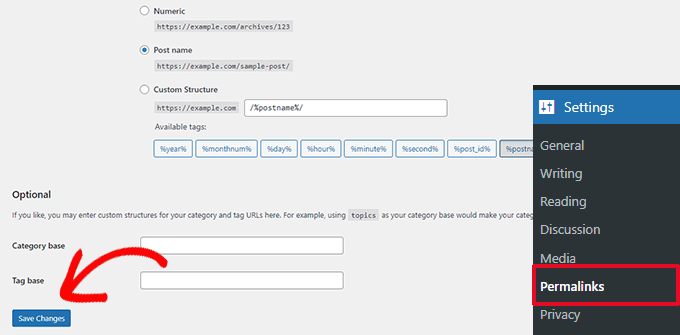
The simplest solution is to navigate to the Settings » Permalinks page in the WordPress admin area, click the “Save Changes” button, and leave it at that.
Now, WordPress will attempt to create a new.htaccess file for you or update your existing one. You can now check your website to see if the internal server error has been fixed. Make sure WordPress was able to generate or write to the.htaccess file if you can still see the problem.
Attempting to manually replace the.htaccess file is now possible. You must first log in to your website using FTP or the File Manager application in the control panel for your hosting account. The next step is to give your main.htaccess file a new name, such as.htaccess old. In this case, WordPress won’t recognise the file, but you can preserve it as a backup.
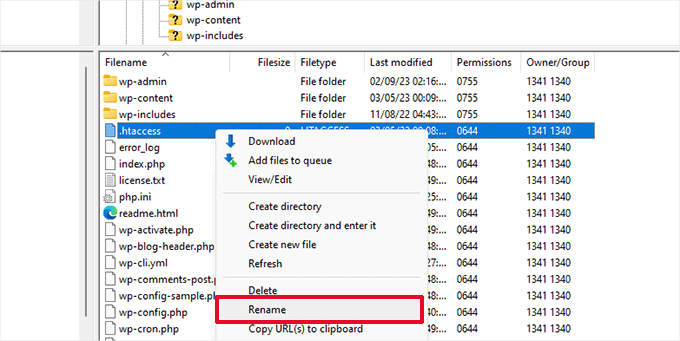
You must access your website using FTP or the File Manager tool in the cPanel dashboard of your hosting account in order to rename the.htaccess file. The.htaccess file will be located in the same directory as the wp-content, wp-admin, and wp-includes directories once you are connected.
To rename the.htaccess file to.htaccess old, simply right-click on it.
The next step is to make a fresh.htaccess file.
With your FTP client or File Manager tool, right-click in the root folder of your website and then choose the “Create new file” option.
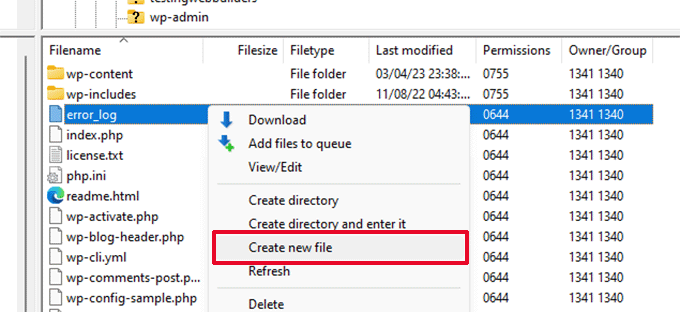
Click OK to save this new file with the extension.htaccess.
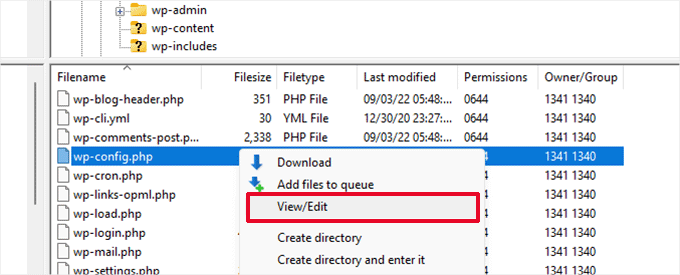
Currently, this.htaccess file is empty; you must add the standard WordPress rewrite rules to it.
On your FTP client or File Manager app, simply right-click on the file and choose View/Edit.

A plain text editor like Notepad or TextEdit will open the empty file. The following code must now be copied and pasted inside it.
# BEGIN WordPress
<IfModule mod_rewrite.c>
RewriteEngine On
RewriteBase /
RewriteRule ^index.php$ - [L]
RewriteCond %{REQUEST_FILENAME} !-f
RewriteCond %{REQUEST_FILENAME} !-d
RewriteRule . /index.php [L]
</IfModule>
# ENDWordPress
The set of rules that WordPress uses by default is this one. Don’t forget to upload the file back to the server after saving your changes.
You can now check your website to see if the internal server error has been fixed.
Make sure to visit the Settings » Permalinks page in the WordPress admin area and click the save button without making any changes before moving on to further tasks. With the right rewrite rules in place, this will regenerate your.htaccess file for you and ensure that your post pages do not return a 404 error.
#A higher PHP memory limit
The internal server error can occasionally occur if a script uses up the entire PHP memory allotment. The wp-config.php file can be modified to increase the PHP memory limit in the simplest method possible.
Open an FTP client or the File Manager application in your hosting account control panel to connect to your WordPress website to get started. Once it has been saved, you may right-click on it and choose “View/Edit.”
You must insert the following code immediately above the line that reads, “That’s all, quit editing!” in the wp-config.php file.
define( ‘WP_MEMORY_LIMIT’, ‘256M’ );
If you only get the internal server issue when attempting to log into WordPress admin or upload an image, you should raise the RAM limit by taking the following actions:
- On your PC, make a new text file called php.ini.
- Include the following code: memory=256MB
- File saving
- Via FTP, upload it to your /wp-admin/ folder.
If raising the memory limit resolved the issue for you, then the issue was only momentarily resolved. You still need to determine what is causing your RAM to be used up.
This can be a theme feature or a plugin with inadequate coding. To determine the precise diagnoses, we strongly advise you to approach your WordPress web hosting provider to examine the server logs. If increasing the PHP memory limit does not resolve the problem for you, further investigation is required.
#Turn off all of the WordPress plugins
If none of the aforementioned fixes were successful for you, the problem is probably being brought on by a particular plugin that you have installed on your website.
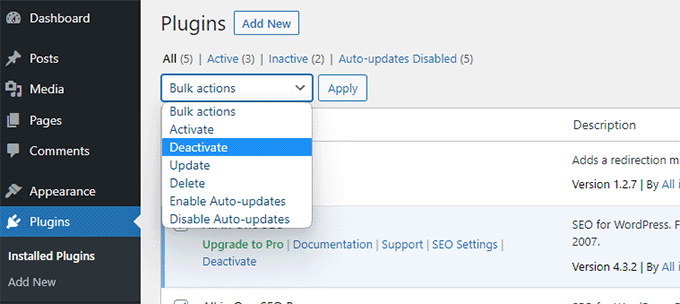
You may easily browse to the plugins page and deactivate every WordPress plugin if you have access to the WordPress admin section of your website.
But, you can use FTP to deactivate all WordPress plugins if you are unable to enter the WordPress admin area. Use an FTP client or the file manager application in your hosting account control panel to connect to your WordPress website.
After establishing a connection, go to the /wp-content/ folder and rename the plugins folder to plugins.deactivated.
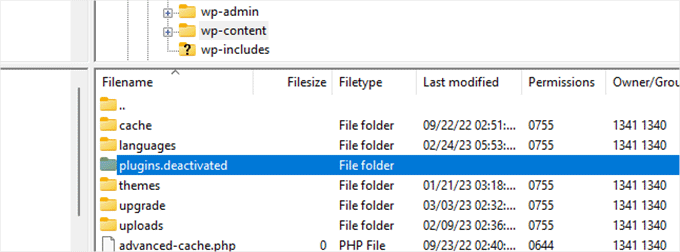
WordPress searches the plugins folder for plugins. All plugins will be turned off automatically if the plugins folder cannot be located.
#Change to the WordPress default theme
Certain code in your WordPress theme may be the internal server error’s root cause. You must change to a default WordPress theme in order to determine if this is the case.
Simply navigate to the Appearance » Themes tab if you have access to the WordPress admin area. If you already have a default theme installed, changing themes is as easy as clicking the Activate button.
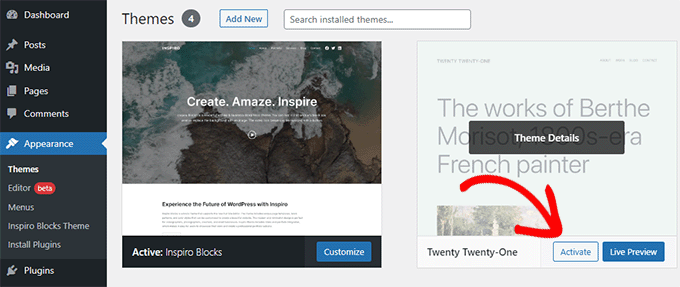
You can install a default theme if you don’t already have one by clicking the Add New button at the top (Twenty Twenty-Three, Twenty Twenty-Two, etc). You can now switch to a default theme even if you don’t have access to the WordPress admin interface.
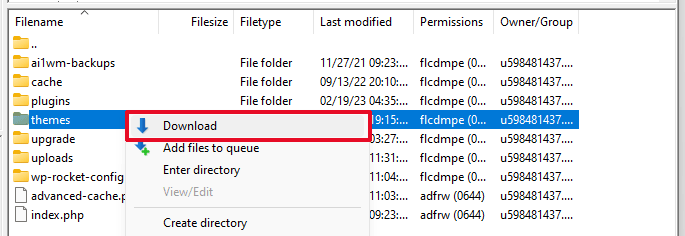
Simply use an FTP programme to connect to your WordPress website and go to the /wp-content/ folder. To download the themes folder to your computer as a backup, right-click on it and choose Download.
The themes folder on your website has to be removed next. Create a new themes folder once it has been erased. You won’t have any themes installed at this time because your new themes folder will be entirely empty.
Visit the WordPress themes directory after that and save a copy of the default WordPress theme to your PC.
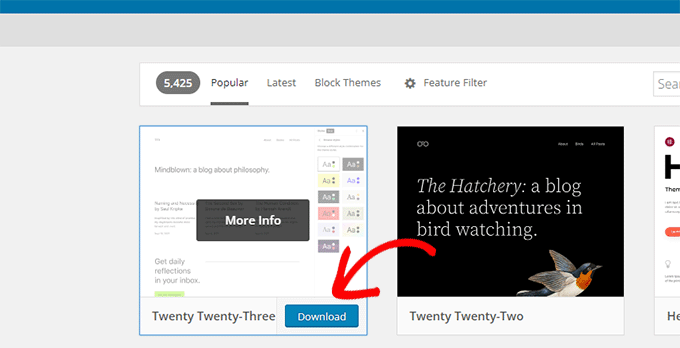
The theme will subsequently be downloaded to your computer as a zip file by your browser. Unzip the file after finding it on your computer.
While using Windows, right-clicking a zip file and choosing Extract All will allow you to open it. Double-clicking the zip file will allow Mac users to extract it.
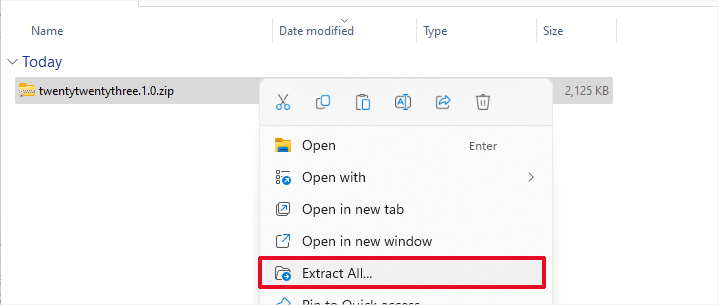
A folder containing your WordPress theme will now be visible to you.
Reopen your File Manager or FTP program and upload this folder to the empty themes folder.
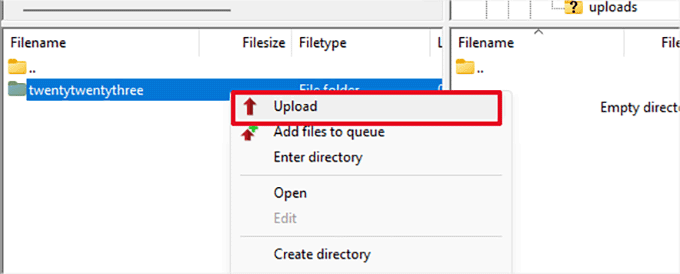
WordPress will immediately begin using the stock theme after an upload. You can now check your website to see if the internal server error has been fixed.
If this didn’t work, you may either switch back to the theme you were using or reupload your WordPress themes from the backup.
Enable WordPress’s debug logs
WordPress has a built-in log-keeping system for debugging. By utilizing the WP Debugging plugin, you can activate it.
The plugin will enable debugging logs on your WordPress website once it is active.
You can enable debugging if you don’t have access to the WordPress website’s admin area by adding the following code to your wp-config.php file.
define( 'WP_DEBUG', true);
define( 'WP_DEBUG_LOG', true);
Debug logs can be viewed when they have been enabled by using an FTP client to go to the /wp-content/ subdirectory.
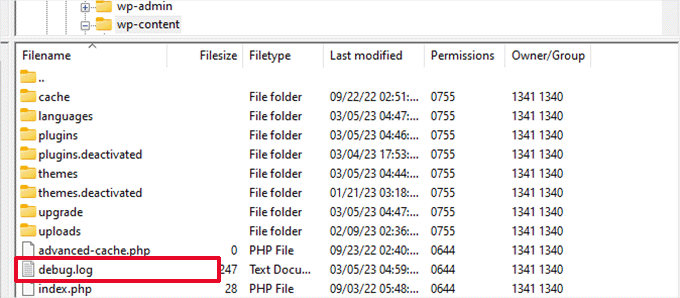
You can view a list of issues and warnings that appear on your website by opening the debug log file in a text editor.
Some of these mistakes and alerts can just be minor mishaps that don’t require correcting. These, however, may put you on the right path if you are getting an internal server issue on your website.
Wrapping Up
The 500 Internal Server Error in WordPress can be caused by a variety of issues, including plugin conflicts, theme problems, and server configuration errors. By following the steps outlined above, you should be able to identify the root cause of the error and fix it accordingly. Remember to always backup your website before making any changes and seek professional help if needed. With some patience and persistence, you can resolve the 500 Internal Server Error and get your WordPress site back up and running smoothly.
