1) Download and Activate
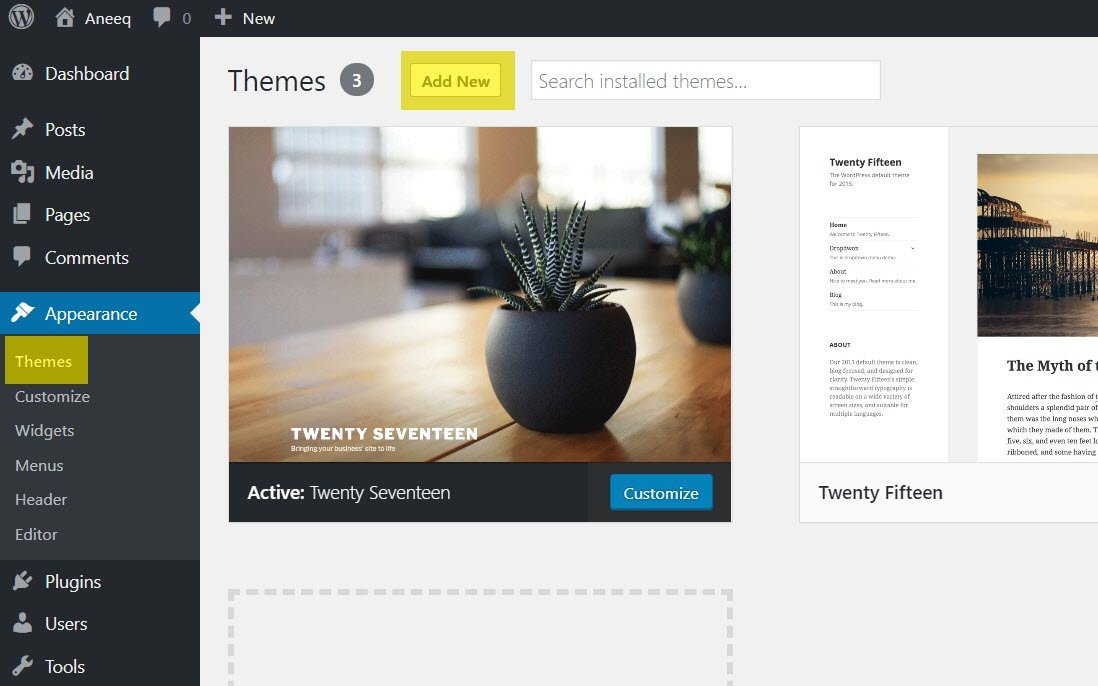
Login into your WordPress website admin dashboard. Go to the Appearance > Themes > Add New
Check the highlighted area into screenshot.
On Add Themes page type the “Daron” into the Search box, WordPress will display the Daron theme into search result and click on the Install button

After theme installation finished click on the Activate button to activate the theme on the website.
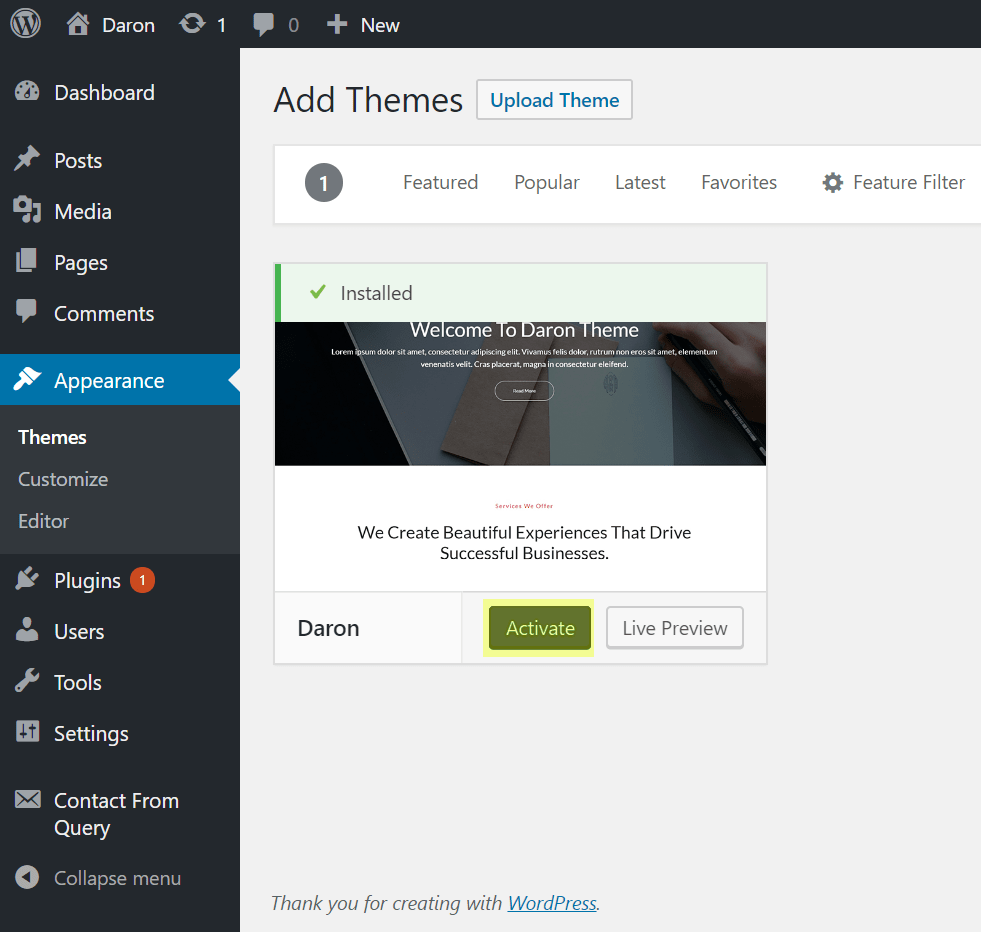
Daron theme has been activated on the website. You can visit the site with the newly activating theme.

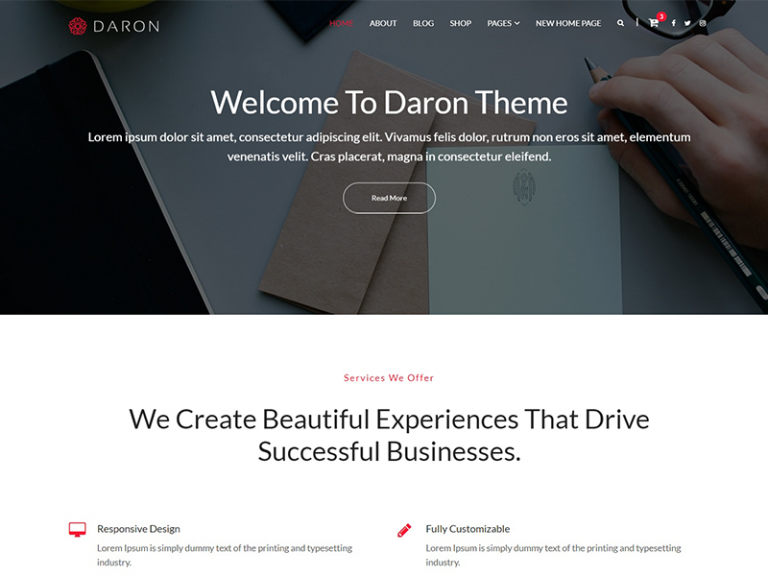
Visiting website will look like as below:

2) Adding Navigation Menu
Go to Appearance > Menus
- Select Pages you wanted to appear in Menu
- Click on Add to Menu
- Give a suitable menu name
- Drag menu item left-right to make it under another menu(submenu).
- Click Save Menu
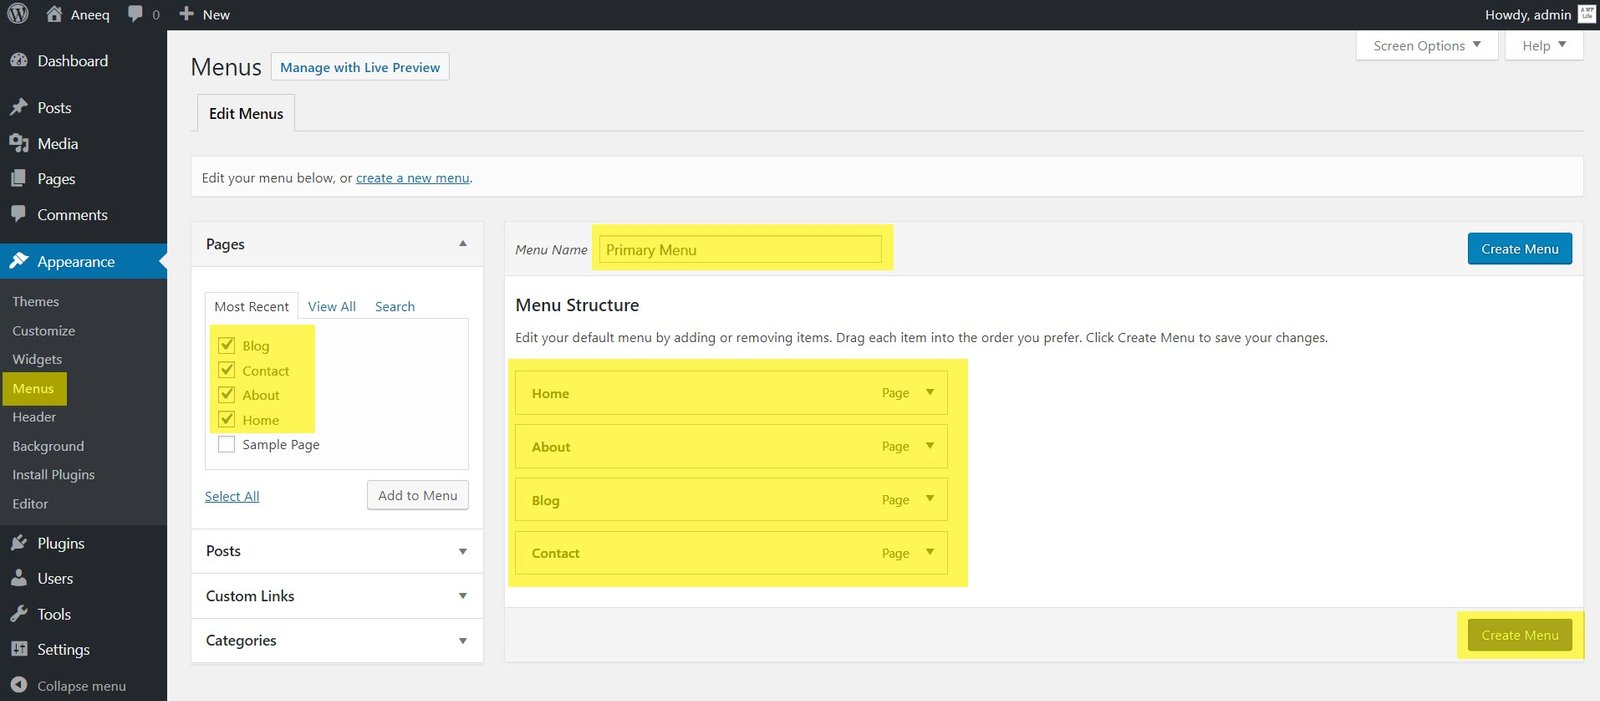
After creating the menu it will show Menu Setting, this setting allows you to choose the menu display position on the homepage like Primary, Header, and Footer. The location feature depending on themes feature, some themes provide multiple menus location for it.

The site navigation Menu has been added successfully.

3) Setup Homepage
Currently, the homepage will show the post with right sidebar page. Now, open the theme customizer to set up the theme homepage click on the Customize button at the top bar.

Click the customizer.
A) Set Your Homepage Display – A static page
B) Select Homepage – Home (Home is a page, which is created during navigation menu creation)
C) Select Posts page – Blog
D) Click on the Publish button.
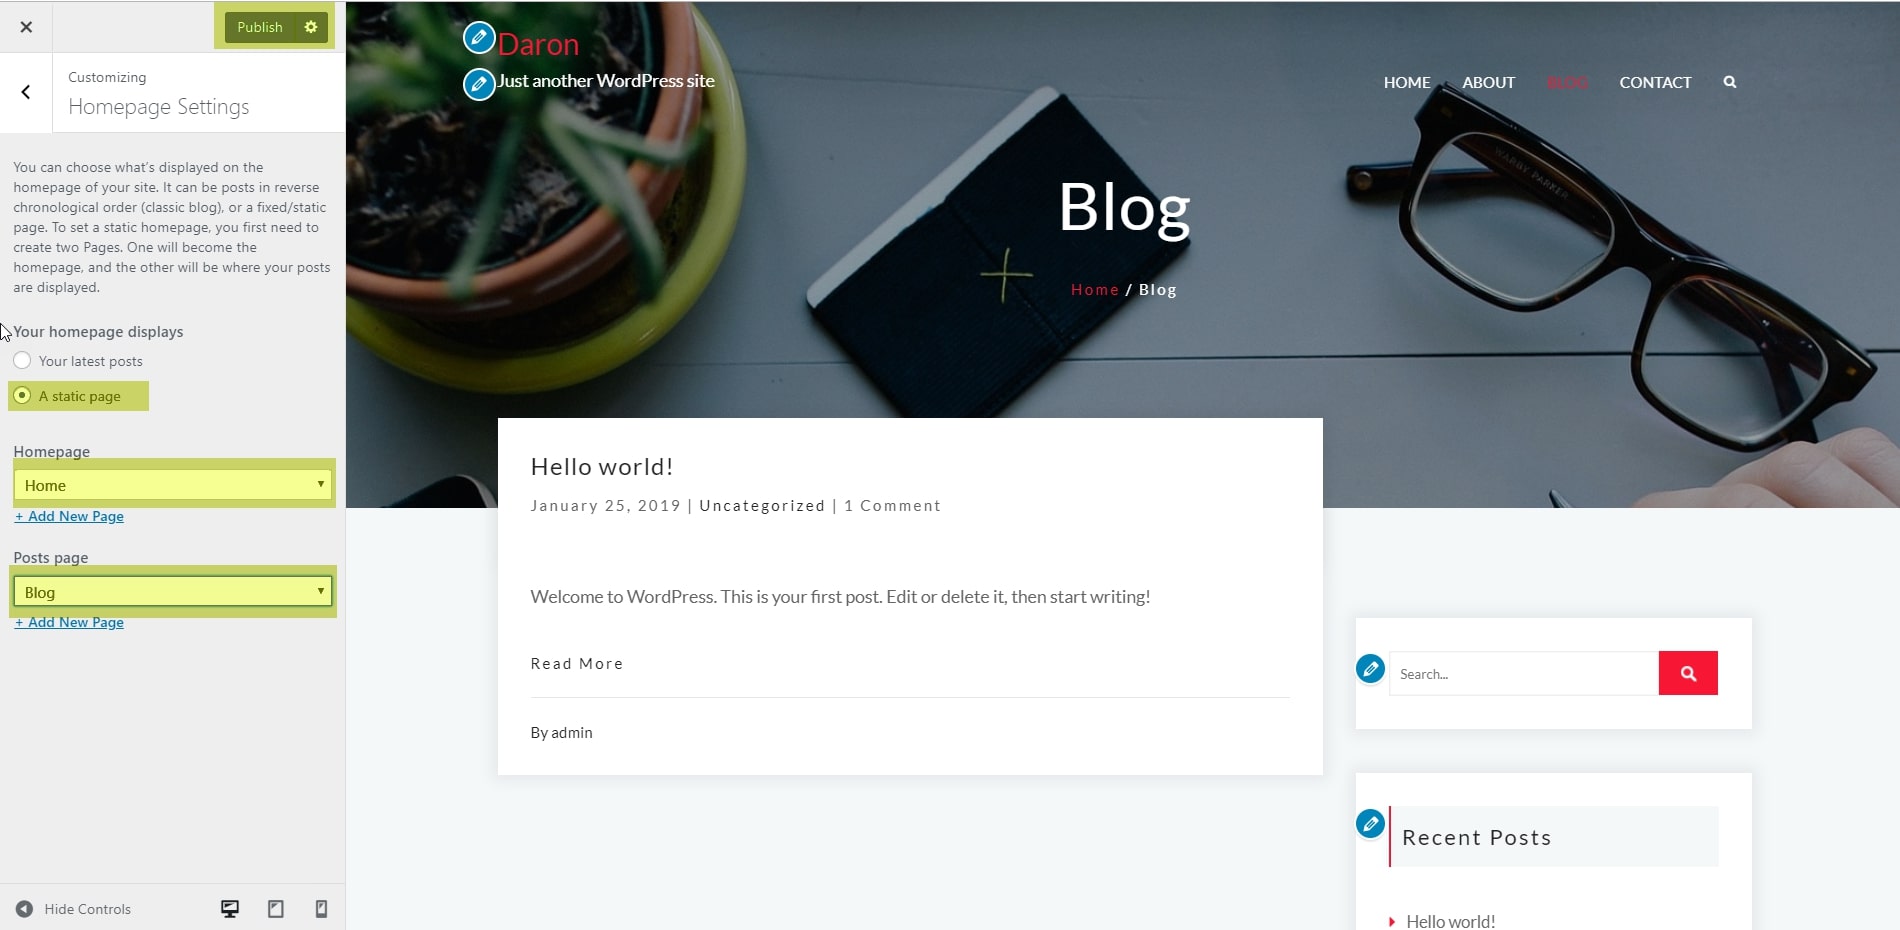
4) General Settings
After activating Daron homepage, you will see first setting tab General Settings, which allows configuring theme core features like theme color, page template layout, single post page layout.

General Settings

5) Header Settings

Daron header customization allows the following settings to set like
A) Header Gradient Color
B) Header Max Height (px) – you can specify the header width in pixels
c) Show Title
d) Show Breadcrumb

6) Social Icon Settings
![]()
In Daron homepage Setting select Social Icon Settings– Active to enable the social media icons on the homepage. now, you can hide end show social media icons and change link URL.

7)Footer Settings

In Daron homepage Setting select Footer Settings– Active to enable the widgets section on the homepage.
A) Widgets Section – Active
B) Footer Column Layout – One / Two / Three
C) Copyright Text.

8) Enable Slider Section on Homepage
Step back in customizer setting and select the Homepage Sections setting tab.
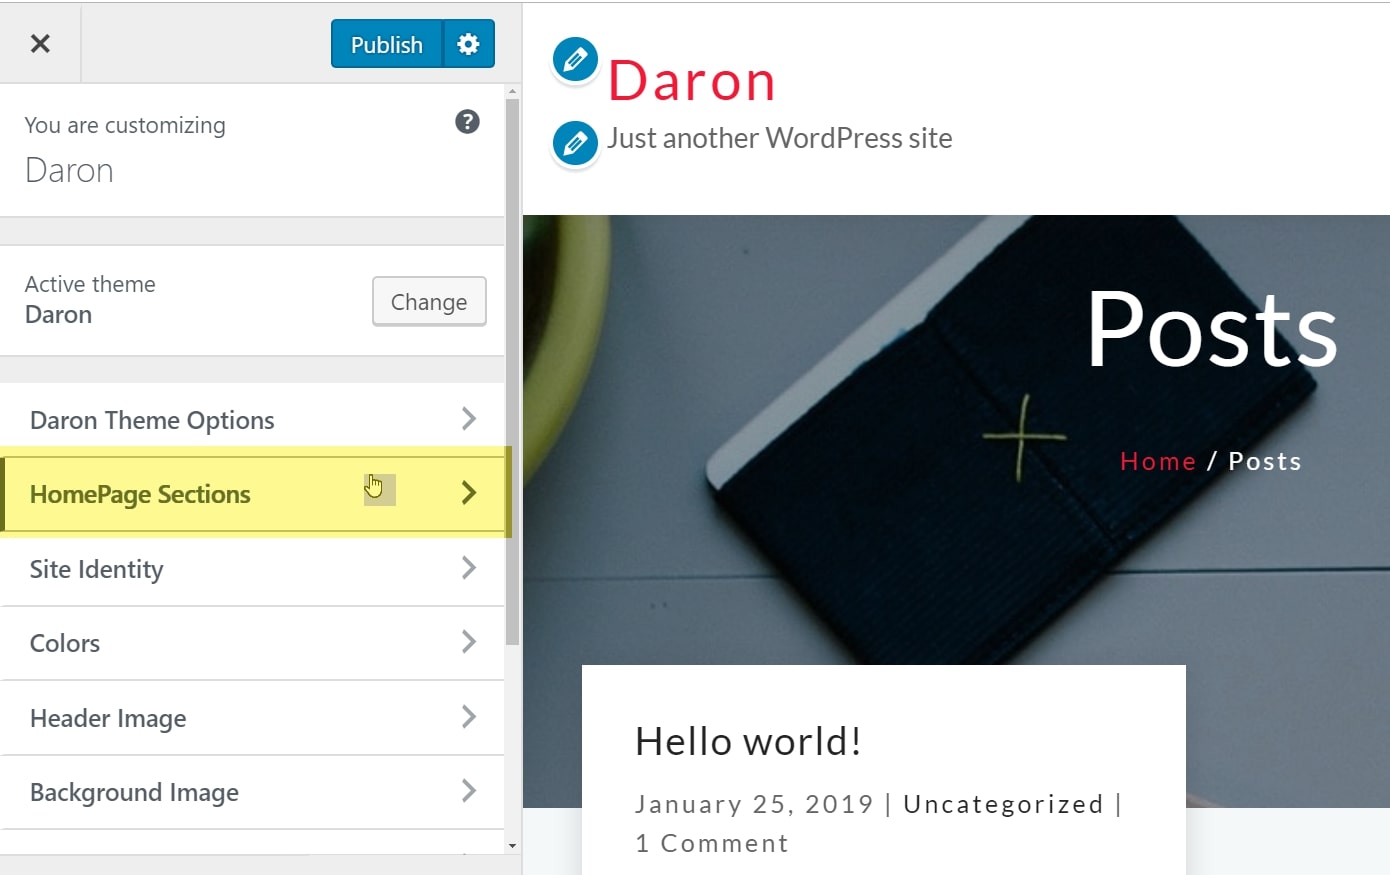
Select the HomePage Slider Settings tab.
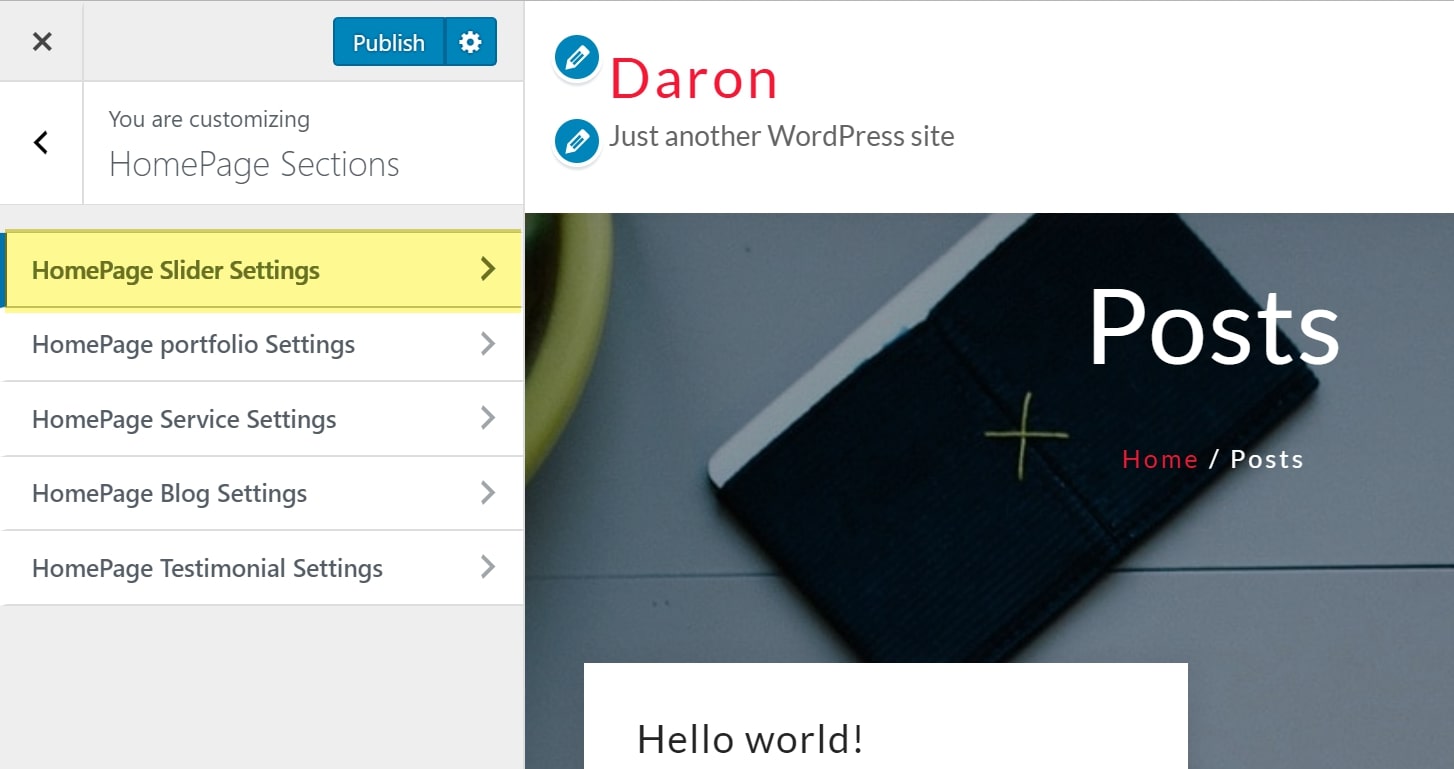
In HomePage Slider Setting select Slider Section – Active to enable the slider on the homepage. Now, you can change the slide image, slide title, slide description, slide button text, link URL.

9) Enable Portfolio Section on Homepage

In HomePage portfolio Setting select Portfolio Section – Active to enable the portfolio on the homepage. Now, you can change the image, portfolio title, portfolio description and settings like section title, section description, you can add up to Six Images in the portfolio. In premium version can add multiple Portfolio images without any limit.

10) Enable Service Section on Homepage
Step back in customizer settings and select the HomePage Service Settings setting tab.

In HomePage Service Setting select Service Section – Active to enable the service on the homepage. Now, you can change the service icon, service title, service description and configure service section features settings like section title, section description, design layout, and column. You can add up to four services in that section. In premium version can add multiple services without any limit.

11) Enable Blog Section on Homepage

In HomePage Blog Setting select Blog Section – Active to enable the blog on the homepage. Now, you can change the blog title, blog description and configure blog section features settings like column layout.

12) Enable Testimonial Section on Homepage
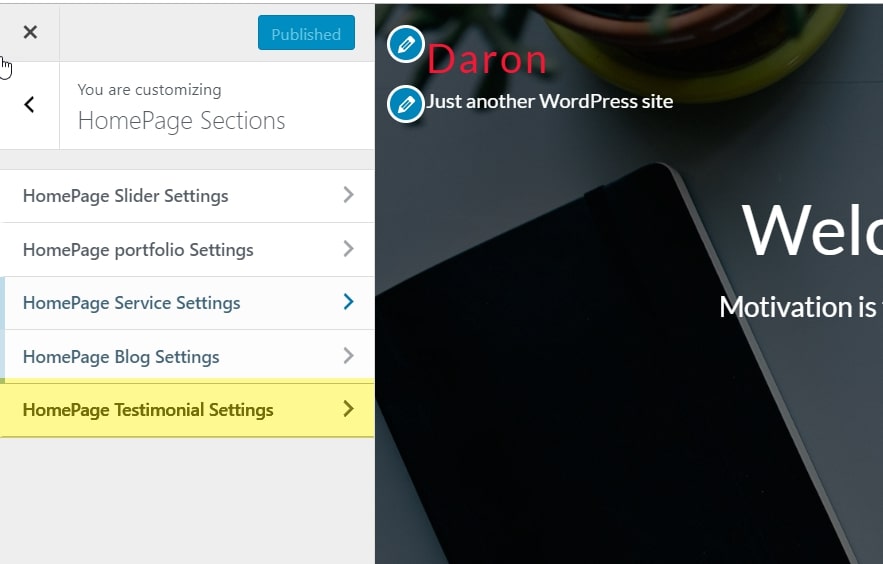
In HomePage Testimonial Setting select Testimonial Section – Active to enable the testimonial on the homepage. Now, you can change the testimonial title, testimonial description and change testimonial image or Designation and description. in premium version can add multiple testimonials without any limit.
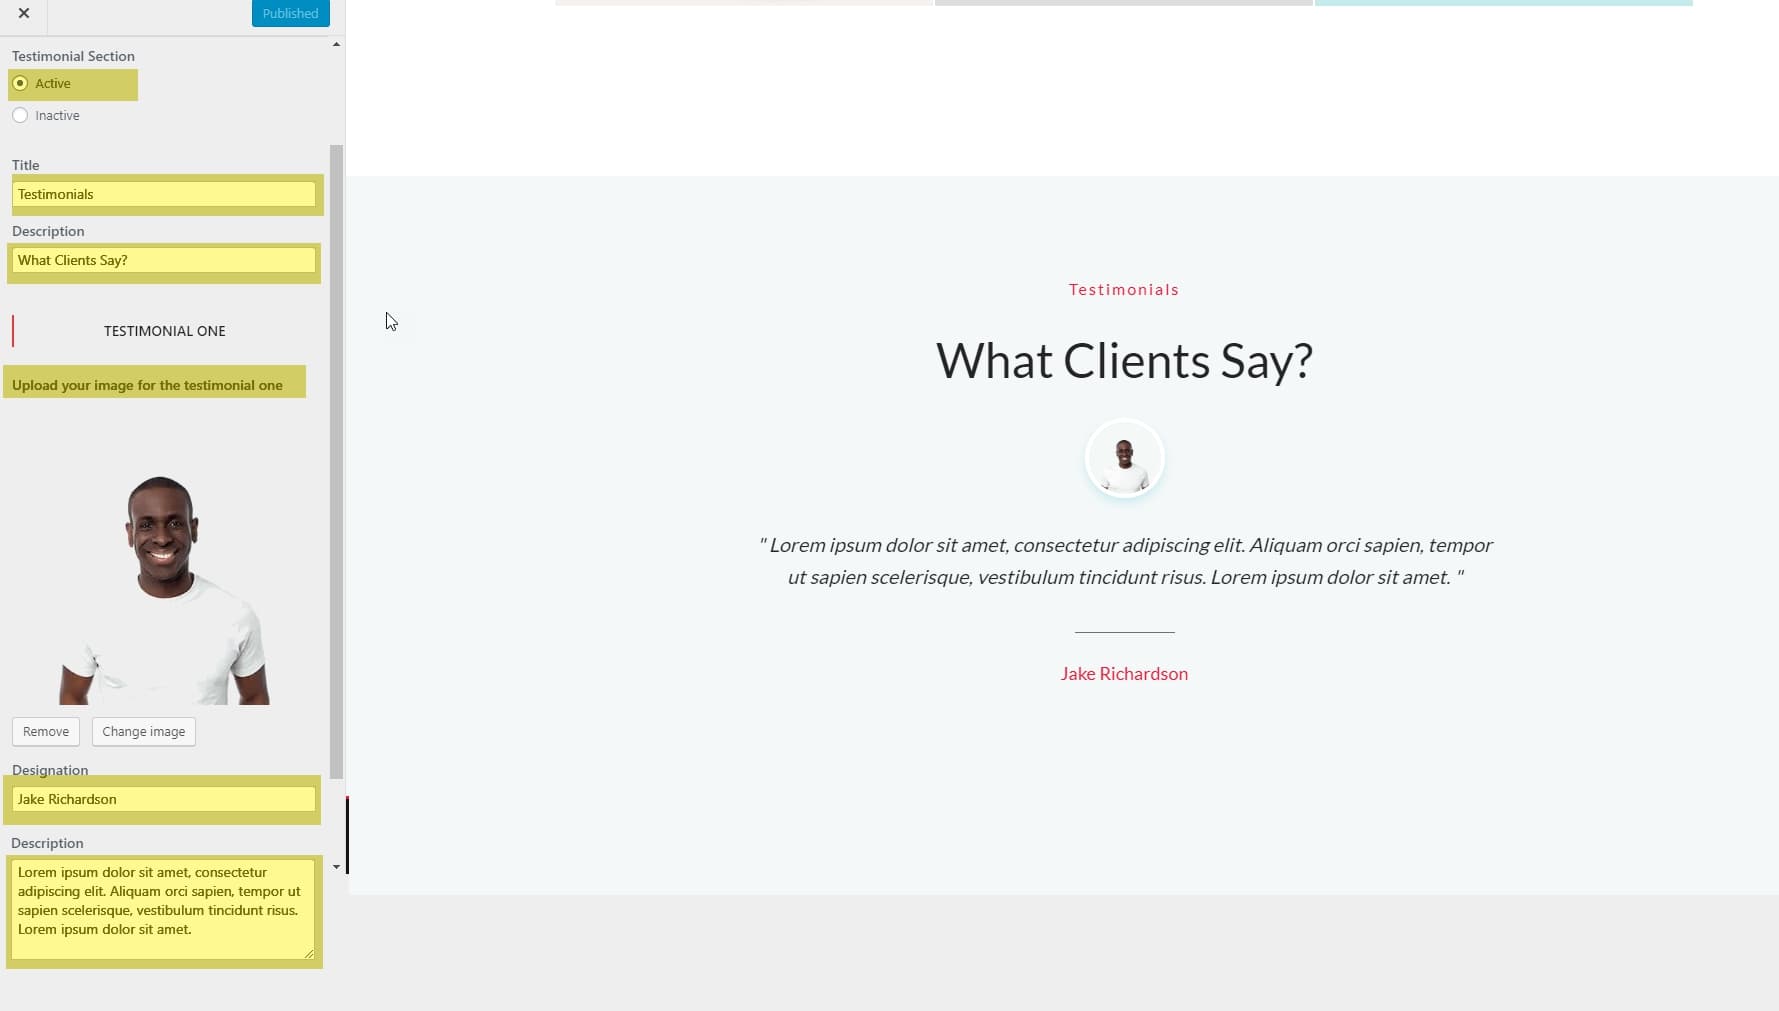
The Final Preview Daron Theme Homepage
