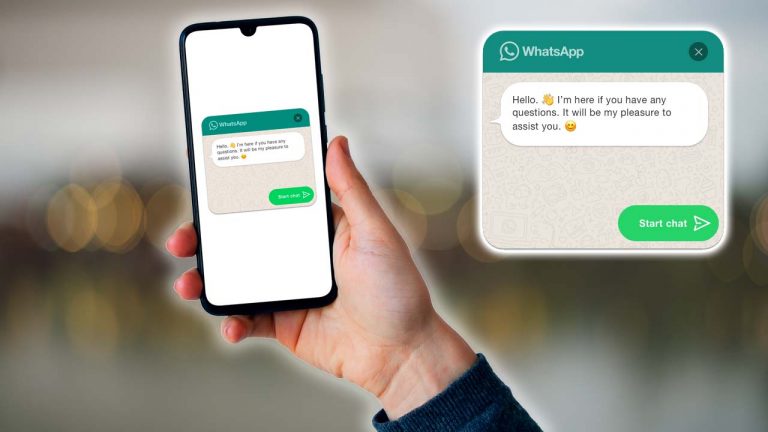
With a user base of approximately 2.2 billion worldwide, WhatsApp is among the most popular messaging services utilized today. Adding a Whatsapp share button to your website can enable you to interact with users and boost their engagement. Additionally, a chatbox button allows users to send messages to you directly from your website.
This article will provide an easy-to-follow guide for including a WhatsApp share button on your WordPress website.
Why add a WhatsApp button in WordPress?
The instant messaging service WhatsApp makes it simple for individuals all over the world to communicate with one another. Your WordPress website‘s users can quickly share your material with their connections by adding a WhatsApp share button.
Moreover, you may include a WhatsApp chatbox so that users can contact you directly. Customers can ask questions about products using a WhatsApp chat button, for example, if you run an online store, without having to fill out any forms or contact customer service.
It may lead to greater user involvement and a decline in cart abandonment rates.
Method 1: Adding a WhatsApp Share button to WordPress
This approach is for you if you want to add a WhatsApp share button to your website. Installing and activating the Sassy Social Sharing plugin is the first step.
You must go to the Sassy Social Sharing menu from the admin sidebar after activation. You must now click the “Standard Interface” button at the top.
Then, simply click the box next to the WhatsApp option in the section marked “Choose Sharing Services” by scrolling down.
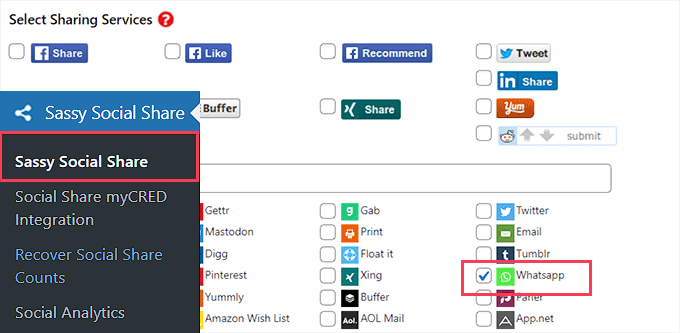
When you’re finished, don’t forget to click the “Save Changes” button to save your settings. Once there, select “Theme Selection.”
The share buttons can then be altered in a variety of ways, including size, shape, logo or background colour, and more. It makes sense to utilize the WhatsApp brand colors for the share button so that people can more readily recognize it.
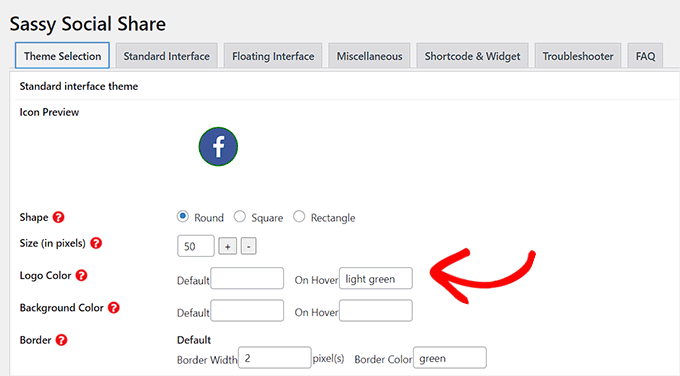
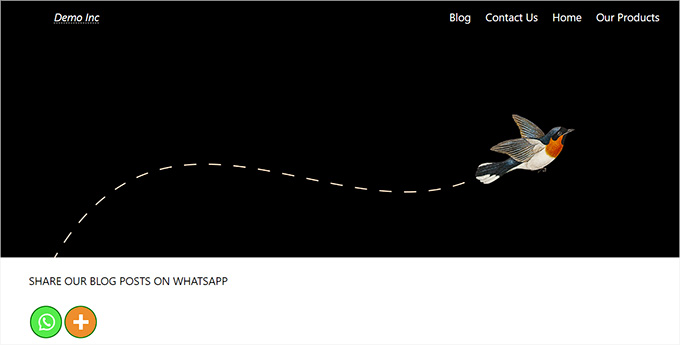
Don’t forget to click the “Save Changes” button when you are done to save your settings. To see your WhatsApp share button in action, go to your website right away. Here is how it appeared on our test website.
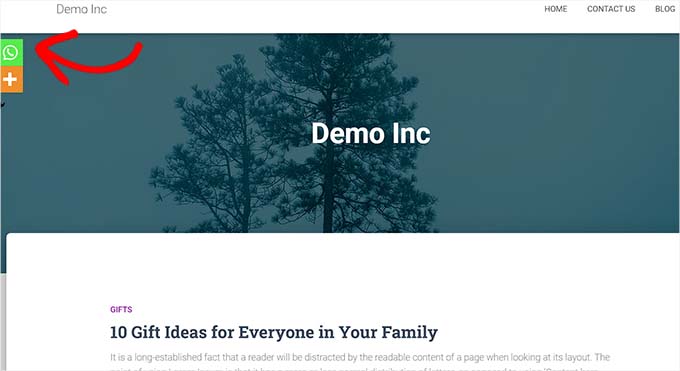
Not interested in having a WhatsApp button on every page? Don’t worry; the plugin also makes it simple to add it to individual articles and pages.
Block Editor’s addition of the WhatsApp Share button
You must first disable the global sharing button display if you want to only display the WhatsApp share button on particular posts and pages.
Simply select the “Standard Interface” tab from the Sassy Social Sharing page in the WordPress admin sidebar to do that.
The next step is deselecting the “Enable Standard sharing interface” checkbox.

Go to the “Floating Interface” tab next.
From here, select the option to “Enable Floating sharing interface” and uncheck the box next to it.

You can now add a WhatsApp share button to any page or post on your website using a shortcode after disabling the default and floating social sharing icons.
Simply open the post or page in the content editor where you want to add the WhatsApp share button, or start from scratch.
Simply search for the “Shortcode” block by clicking the Add Block (+) icon in the upper left corner from here. The block should then be added to the page.
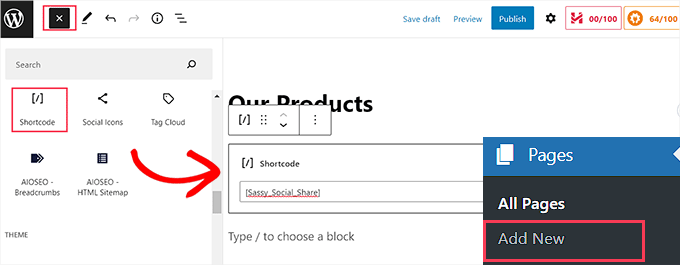
The next step is to copy and paste the following shortcode into the “Shortcode” area.
| 1 | [Sassy_Social_Share] |
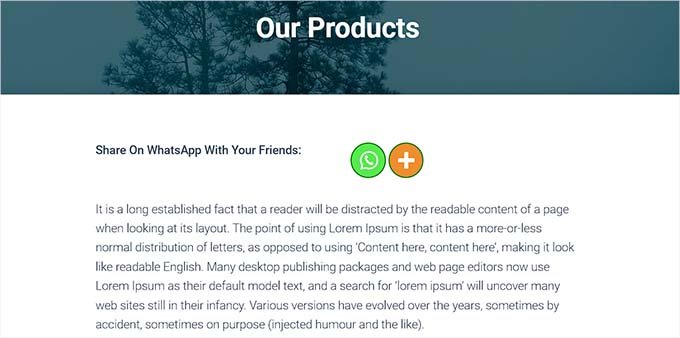
To save your changes, just click the “Publish” or “Update” button when you are finished. This is how your WhatsApp share button will appear.
Widgetizing the WhatsApp Share Button
You must access the Appearance > Widgets page from the admin sidebar in order to add the WhatsApp share button to your website’s sidebar. Simply identify the “Shortcode” block by clicking the Add Block (+) icon in the top left corner from here.
The “Shortcode” block must then be added to the sidebar.

Simply copy the following shortcode and paste it into the block after that.
| 1 | [Sassy_Social_Share] |
To save your settings, use the “Update” button after that. Once it has been put to the website sidebar, your WhatsApp share button will appear as shown above.

Add WhatsApp Share button in Complete Site Editor
If you’re using a block theme, you won’t have access to the “Widgets” tab and will instead be using the entire site editor. To use the entire site editor, first go to the Appearance » Editor option on the admin sidebar.
The “Shortcode” block should then be added to any appropriate location on your website by clicking the “Add Block” (+) button at the top of the page.
Add the next shortcode to the block after that.
| 1 | [Sassy_Social_Share] |
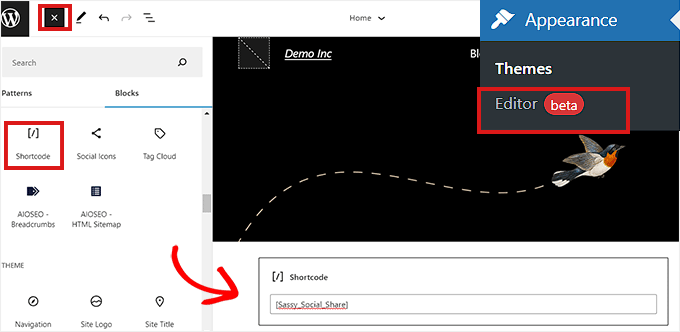
Click the “Save” button at the top when you are finished.
The WhatsApp share button appeared like this on our test website.
Method 2: Activate the WordPress WhatsApp Chatbox Button.
You may include a WhatsApp chatbox button in WordPress using this method.
This implies that users will be able to send you a direct message on your WhatsApp phone number when they click the WhatsApp chat icon.
Note: You should be aware that while you won’t be receiving any messages directly in your WordPress dashboard, you will still be able to talk normally using the desktop, browser, and mobile versions of the WhatsApp application.
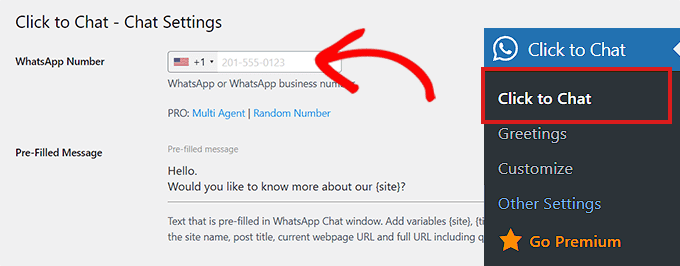
Installing and activating the Click to Chat plugin is the first step. You must go to the Click to Chat menu item that has been added to the sidebar of your WordPress admin dashboard after activation.
You should now begin by entering your company phone number into the “WhatsApp Number” field. You’ll be able to call this number to get messages from other users.
Then, in the “Pre-Filled Message” area, you must enter a brief message. This will always be the message that appears in your WhatsApp chat window by default.
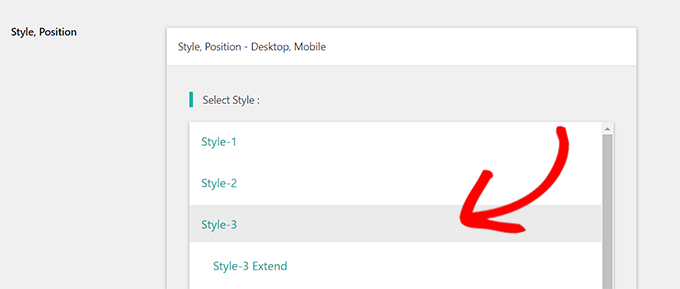
Go to the bottom of the page to see the “Style, Position” section.
Start by selecting a WhatsApp chatbox style from the dropdown menu. This plugin comes with roughly 8 different styles by default. Simply select your preferred option.
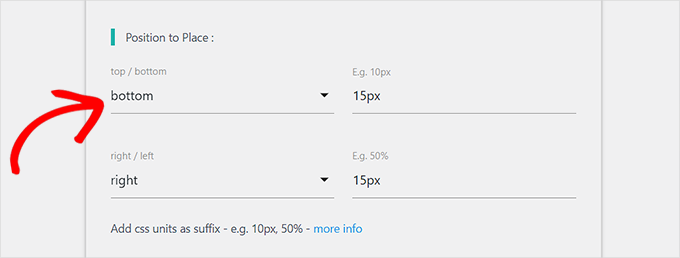
After that, you must scroll down to the section labeled “Position to Put.”
From this point, you may select the chatbox’s size and position from dropdown menus.
The next step is to find the “Display Settings” section.
Simply choose the “Global” checkbox next to the options where you wish to display your WhatsApp chatbox in this window.
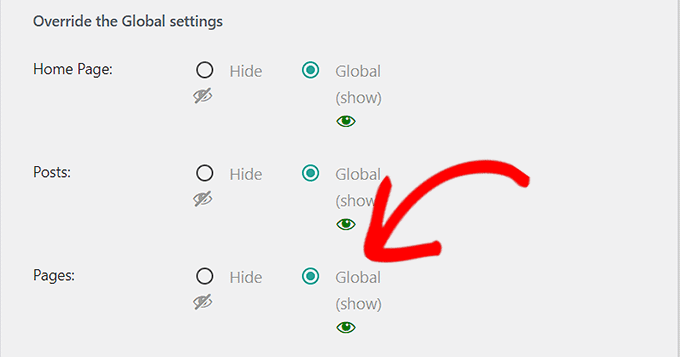
Remember to click the “Save Changes” button at the end to save your settings.
To choose a greeting dialogue from a dropdown menu, go to the Click to Chat » Greetings page right away.
The WhatsApp button will be shown on your page along with this greeting dialogue.
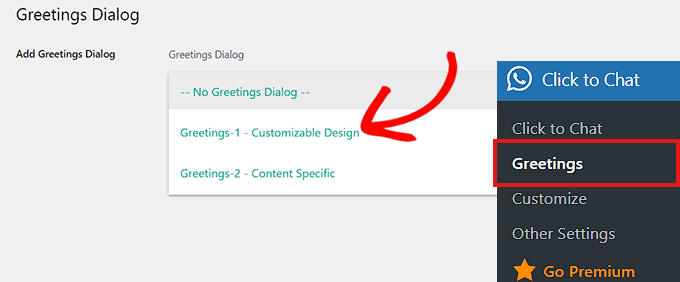
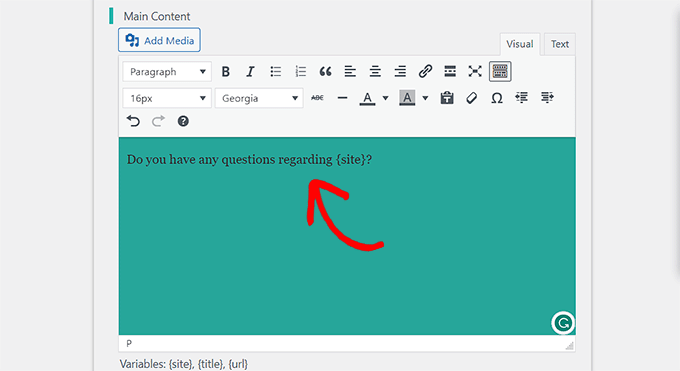
After making up your mind, input the text for the greeting dialog’s header, primary content, and call to action.
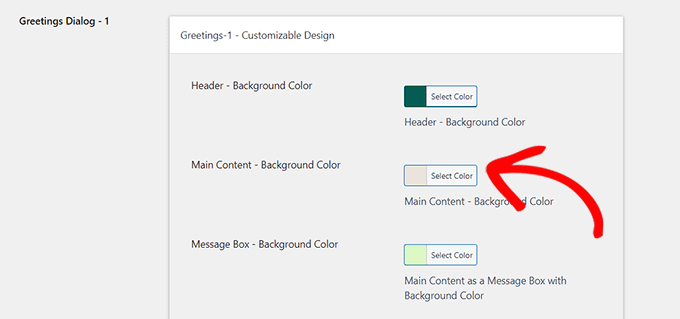
Scroll down to the “Customizable Design” section after that.
You can then select the background colors for your message box, header, and main content.
To save your settings, just click the “Save Changes” button afterward.
You should then go to your website. Your WhatsApp chatbox will appear like this by default.
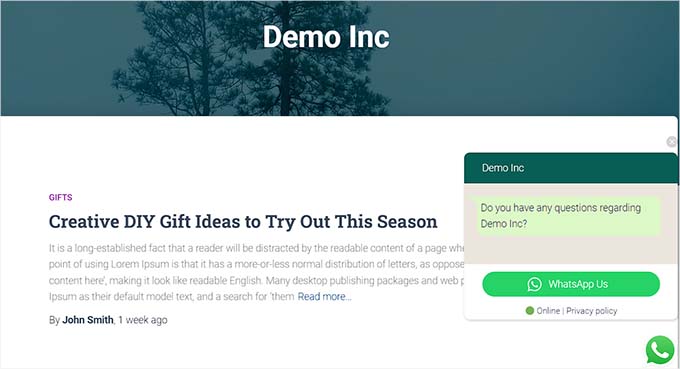
Here, we’ll demonstrate how you can quickly add a WhatsApp chat button to your website’s block editor, widget, or complete site editor.
Include a WhatsApp Chat button in the Block Editor.
With the block editor, you can quickly add the WhatsApp button to a certain page or post on your WordPress website. We’ll add the WhatsApp button to a page.
You must first access the Pages » Add New page in the admin sidebar.
By doing so, the block editor will open. The next step is to select the “Shortcode” block by clicking the “Add Block” (+) button in the top left corner of the screen.
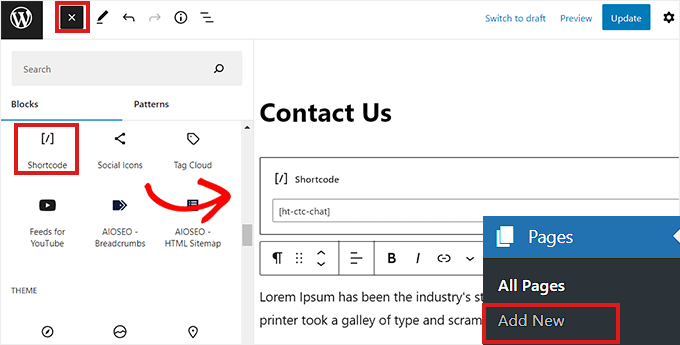
The following shortcode has to be copied and pasted into the ‘Shortcode’ block after it has been added.
| 1 | [ht-ctc-chat] |
Then, simply click the “Publish” button at the top.
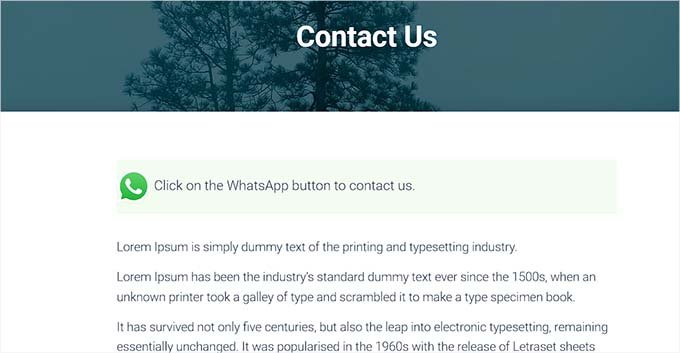
On our test page, the WhatsApp button appeared as shown.
Widgetizing the WhatsApp Chat Button
This technique demonstrates how you can quickly add the WhatsApp button as a widget to your website’s sidebar. You must first navigate to the WordPress sidebar’s Appearance » Widgets page.
Simply expand the “Sidebar” tab after arriving there, then click the “Add Block” (+) button at the top. Simply find the “Shortcode” block and put it to the sidebar after that.

Simply copy the following shortcode and paste it into the block at this point.
| 1 | [ht-ctc-chat] |
To save your settings, don’t forget to click the “Update” button at the end.
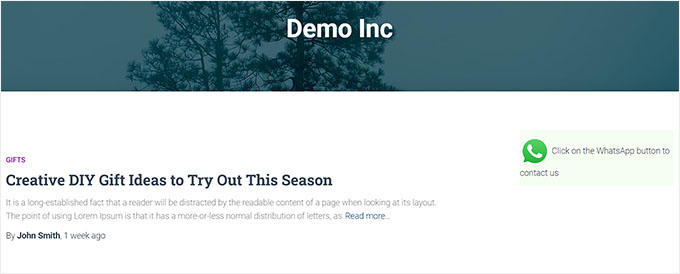
Here is how the WhatsApp button appeared on our test website once it was added to the sidebar.
Add WhatsApp Chat Button in Complete Site Editor
This approach is appropriate for you if your website editor has a block-based theme. To start the full site editor, first navigate to the Appearance » Editor page.
Simply click the “Add Block” (+) button in the top left corner of the screen after you’ve arrived there. Now all you have to do is find your chosen location on the site and add the “Shortcode” block there.

Copy and paste the following shortcode inside the block after it has been added.
| 1 | [ht-ctc-chat] |
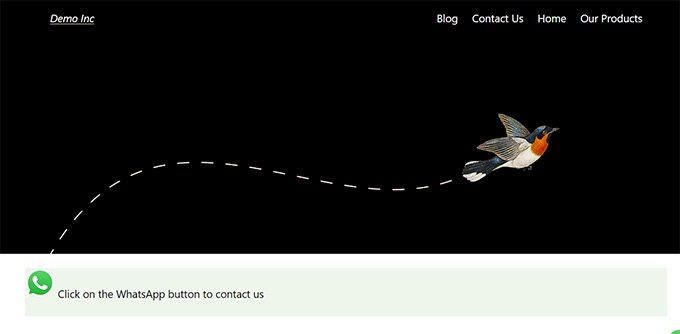
Remember to click the ‘Update’ option at the top to save your changes before you finish. On our website, the WhatsApp button appeared like this.
We sincerely hope that this post has shown you how to add a WhatsApp share button to WordPress. You might also want to check out our list of the top WordPress users’ content optimizing tools.
