
Your development team can quietly become your WordPress website’s most active audience. When staff members check landing pages, developers test WooCommerce checkout forms, or agency partners review a newly installed premium theme, Google Analytics 4 (GA4) records those actions as legitimate visitor behavior.
Table of Contents
This internal activity severely distorts your page views, engagement rates, user counts, and conversion attribution. A custom contact form tested ten times by your marketing team may falsely register as a sudden spike in lead generation. A heavily refreshed staging page may appear more popular than the live pages your actual customers use.
GA4 provides a native, controlled way to solve this problem without relying on heavy WordPress plugins. You must define which public IP addresses represent your organization, label matching events as internal traffic, test the setup, and finally activate an exclusion filter.
Because an active GA4 data filter changes incoming data permanently, configuring this correctly is critical for maintaining clean, trustworthy analytics.
Why Internal Traffic Ruins WordPress Analytics
Out of the box, GA4 cannot differentiate between a legitimate customer and a WordPress administrator. If you are building a new digital storefront or constantly tweaking your site architecture, your team’s footprints are everywhere.
When you install a new WordPress theme or plugin, you naturally reload the frontend repeatedly to check CSS changes. If these sessions are logged in GA4, your overall “Average Engagement Time” plummets because developer refreshes usually last only a few seconds. By filtering internal traffic, you ensure that your metrics reflect actual prospect behavior, not backend maintenance.
How to Identify Your Internal IP Addresses
GA4 relies on IP addresses to filter traffic. It specifically needs the public outbound address that your organization presents to the internet, not the private local address (like 192.168.x.x) used by a laptop connecting to an office router.
Start by listing every location from which employees regularly access the WordPress dashboard or frontend. This inventory should include your head office, branch locations, agency partners, and remote VPN exit points. Ask your IT administrator to confirm the public IPv4 or IPv6 address for each location. For a small office, simply search Google for “what is my IP address” while connected to the primary office network.
Managing Remote WordPress Teams
For distributed teams, a managed VPN with known exit addresses is far more maintainable than collecting dozens of constantly changing home Wi-Fi addresses. Staff simply connect to the company VPN before testing the website, allowing GA4 to filter the single VPN public address.
Be cautious with broad IP ranges. Excluding an entire mobile carrier or university network block could accidentally remove legitimate customer activity. Keep your IP inventory as a living operational document, updating it whenever you change hosting providers or office locations.
Creating the Internal Traffic Rule in GA4
The internal traffic rule acts as a label maker, not the filter itself. It instructs GA4 to append a traffic_type parameter to any events arriving from your specified IP addresses.
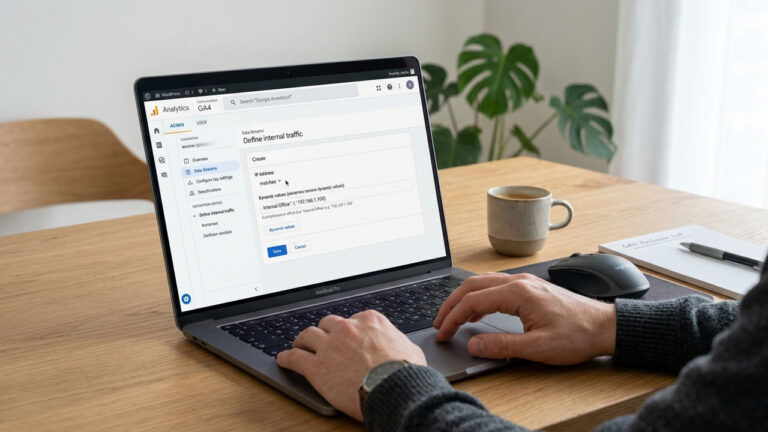
To create this rule, you need Editor access to your GA4 property. Navigate to Admin, select Data streams under the Data collection settings, and open your primary web data stream. Select Configure tag settings, click Show more, choose Define internal traffic, and click Create.
Give the rule a highly descriptive name, such as “London Office” or “Agency QA Network.” GA4 uses internal as the default value for the traffic_type parameter, which works perfectly for most standard WordPress setups. Enter your verified IP addresses, remembering that GA4 treats multiple conditions within the same rule as “OR” statements.
Testing the Filter Before Activation
Testing a GA4 filter is mandatory. A mistyped IP address can accidentally filter out entire cities of legitimate traffic. Testing mode allows you to inspect what would be excluded while keeping the raw events available in your database.
Navigate to Admin, select Data filters, and click Create Filter. Choose Internal Traffic, name it clearly, and ensure the filter state is set exclusively to Testing.
Do not choose “Active” yet. In Testing mode, GA4 evaluates the traffic and flags it with a dimension called Test data filter name. Connect a device to your office network, open your WordPress site in an incognito window, and click through several pages.
Next, open the Explore tab in GA4 and create a Free-form exploration. Add Test data filter name and Event name as rows. If your setup is correct, the events generated by your controlled visit will appear labeled with your test filter’s name. Allow 24 to 36 hours for GA4 to process this testing data fully before assuming the rule failed.
Activating the Internal Traffic Filter
Activation is the point of no return for incoming GA4 data. Events excluded by an active data filter are permanently dropped; they will not be available later in Analytics or BigQuery, and historical reports will not be retroactively repaired.
Before activation, confirm that every tested external connection (like your mobile phone disconnected from Wi-Fi) is still tracking normally. Once verified, return to your Data filters menu, open the internal traffic filter you just tested, and change the Filter state from Testing to Active.
Save the changes. From this exact moment forward, GA4 will seamlessly drop new events generated by your internal WordPress team.
Post-Launch Verification and Maintenance
Verification is an ongoing maintenance step. Run one internal test and one external control test exactly as you did during the testing phase. Check the GA4 Realtime report; your internal session should no longer appear, while the external mobile test should register instantly.
GA4 should remain the absolute source of truth for behavior on a site you control. However, if you also need external market context to compare your newly cleaned data against competitors, a free tool to check website traffic can help you estimate broader industry activity without muddying your first-party WordPress analytics.
Review your GA4 filters whenever your organization changes internet service providers, opens a new office, or hires a new WordPress development agency. Unexpected spikes in traffic during scheduled maintenance windows or a sudden influx of test form submissions usually indicate that an IP address has changed and your filter requires updating.
Frequently Asked Questions (FAQ)
Does excluding internal traffic in GA4 affect WooCommerce revenue tracking?
Yes, but in a positive way. By filtering internal traffic, you prevent staff members from running test orders that accidentally inflate your GA4 revenue metrics and conversion rates, ensuring your eCommerce data remains completely accurate.
Can I use a WordPress plugin to block internal GA4 traffic instead?
While some WordPress plugins (like Google Site Kit or GTM4WP) allow you to disable tracking for logged-in administrators, they do not block internal staff who are browsing the site while logged out. Using GA4’s native IP filtering is the most comprehensive and secure method.
Why is my internal traffic still showing up in GA4 after activating the filter?
If you are still seeing internal traffic, it usually means your office has a dynamic IP address that has changed, or your staff is accessing the WordPress site via a mobile network that bypasses the office router. Always verify your current public IP matches the one saved in your GA4 rule.
