WordPress makes it incredibly simple to add social media icons anywhere on your site, but many site owners fail to take advantage of this powerful feature. In this article, we’ll take you through steps adding social media icons.
1. Download & Installation
- First, download Social Media Widget Plugin from the WordPress admin panel and install it.
- Click on plugins button from the admin menu bar.
- Now click on add new.
- Search for Social Media Widget.
- Now click on the install button and then activate.
2. Adding Social Media Icon Into Site
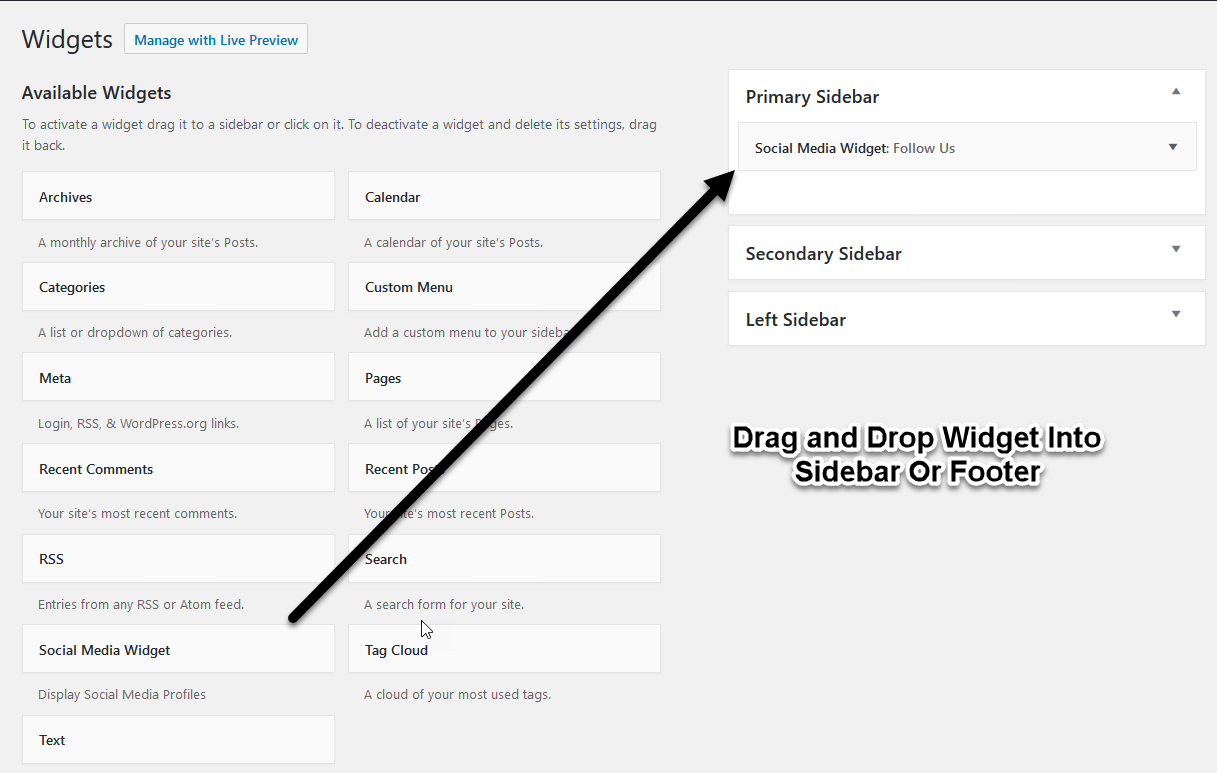
- To Add Social Media Widget into sidebar and widget, drag and drop social media widget into sidebar or footer.
- Type your widget title in title field and save it.
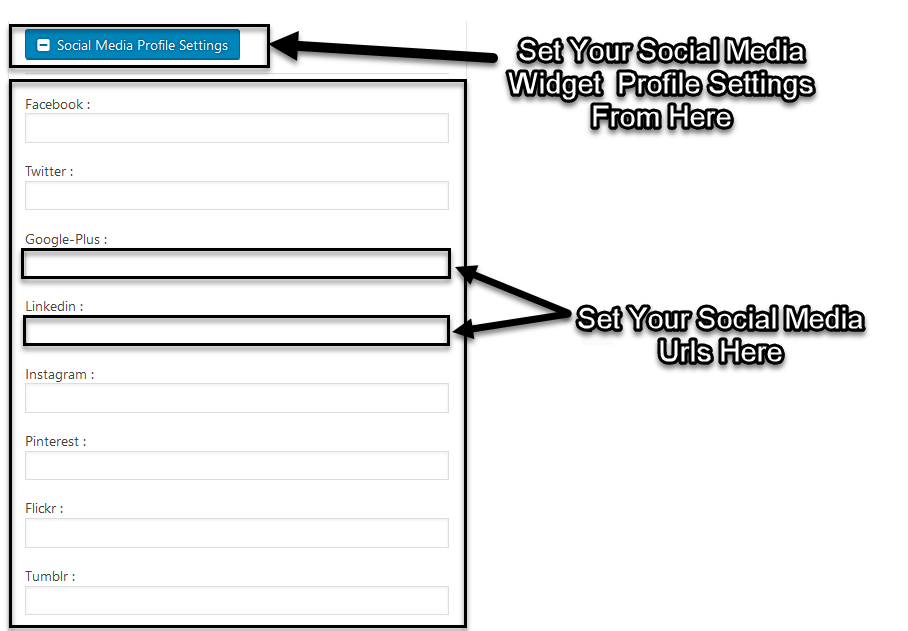
- In “Social Media Profiles Settings”, you have to set social media sites URL Into Text Field.
- Add social media URL Like “https://www.facebook.com/AWordPressLife/“
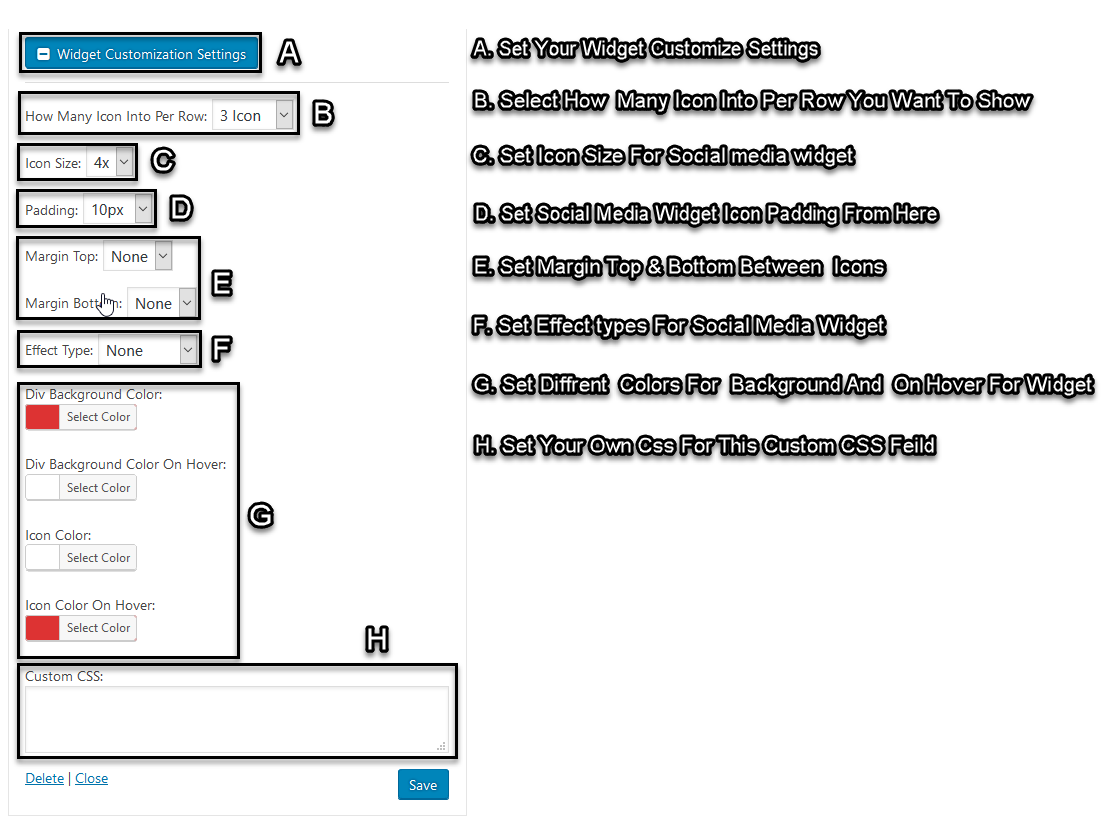
- In “Widget Customization Settings”, you can customize widget settings with different types of view to show your widget Attractive & Responsive
3. Social Media Widget Preview
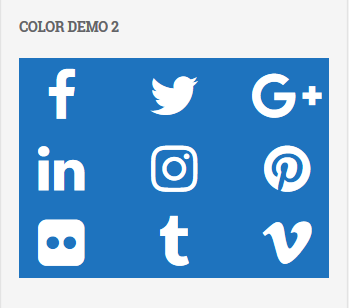
You can set your Social Media Widget by “Manage Your Own Settings”. With the help of this social media widget, you can add many types of social media Icons on your site. This icon can be shown into sidebar, widget & footer. Check out the demo of icons below.
Thanks for reading our article about “How To Add Social Media Icons In WordPress”. Your feedback is appreciated.
Team A WP Life
