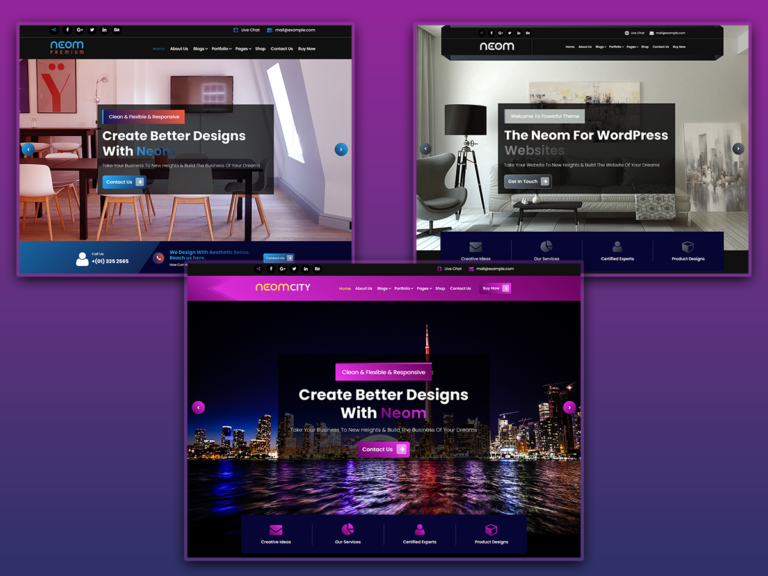
Neom Premium
Latest Design

Exclusive Deal: Get 20% Off On All Products With Coupon Code ! SALE20
Setup your site as one of these or easily create new layouts that fit your needs.
FeaturesBeautifully Designed Elegant WordPress Themes


A Wide Range of Premium WordPress Plugins.

Easily customize your WordPress login page with our intuitive tool.
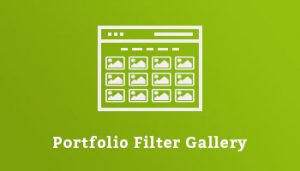
Design Filtered Portfolio Image Video And External Link Galleries

Apply Best Filter Design Concept To Your Simple Looking Blog Page With Few Clicks Of Settings
Get regularly updated news, technical blogs, and articles.
NewsFeel free to contact anytime Our support team will help you
When you start your online business venture, the first things you need to think is "How your site is going to look?". You will need a premium WordPress theme and some plugins to offer high-quality user experience that engages the audience. These WordPress themes are professional and multipurpose that can be used for any type of website. All the themes and plugins developed by AWPLife are responsive for PCs, mobiles and tablets. These are SEO friendly, fast, and easy to modify according to your needs. All our premium themes and plugins are easily customizable and adaptive for any purpose. You will surely find the perfect premium WordPress theme or plugin for your website in our collection!