
You can use schema markup to give more context to a web page’s content. While a web browser won’t be able to see this information, search engine crawlers can. This information can then be displayed in search results as rich snippets.
Search engines can use schema markup to determine whether a page is about a person, a place, a product, or a variety of other topics. In search results, websites with schema markup stand out. They frequently result in higher clickthrough rates than competitors’ pages.
We’ll show you how to manually add schema markup in this tutorial. While this isn’t the quickest technique, it allows you more control and eliminates the need to install any additional plugins.
Select Your Favorite Format
To mark up your website content, you can utilize a variety of different formats. Microdata, RDFa, and JSON-LD are the most popular.
Microdata
Microdata is a set of tags that allow you to add structured data to HTML components directly. By including these tags in your HTML, you make it more machine-readable and search engine and web crawler friendly.
An itemscope, an item type, and item props make up each pair of Microdata tags. This combination aids in the identification of the tagged item as well as the description of its properties.
RDFa
Resource Description Framework in Attributes (RDFA) is an acronym for Resource Description Framework in Attributes. RDFa adds tags to HTML components, similar to Microdata, to make them more machine-readable. There are three tags in this framework: vocab, typeof, and property. These are useful for outlining the vocabulary used, as well as the page type and characteristics.
JSON-LD
JavaScript Object Notation for Linked Data is JSON-LD. It is Google’s recommended schema markup format. Unlike the other formats discussed, JSON-LD is not an inline format. As a result, HTML elements do not need to be changed. Rather, you embed the code in your website’s header. This is generally easier to do.
Mark up the document with a text editor or with a Schema Markup Generator
After choosing your preferred schema vocabulary, you can start writing the HTML to create your markup. The more experienced coders can use any of the best free code editors to create this.
Use a Schema Markup Generator, which will generate the code for you automatically. Two of the best generators are Schema Markup Generator by Merkle and JSON-LD Generator by Hall Analysis.
Schema markup generators are powerful tools designed to simplify the process of implementing schema markup on websites. Schema markup, also known as structured data, is a type of code that helps search engines understand the content and context of a webpage better, leading to enhanced search results and improved visibility. Schema markup generators typically offer user-friendly interfaces that allow website owners and developers to input relevant information about their content, products, or services. These tools then generate the necessary schema markup code, which can be easily added to the website’s HTML. By using schema markup generators, businesses, and website owners can ensure that their online presence is optimized for search engines, ultimately boosting organic traffic and increasing the chances of their content being displayed prominently in search engine results pages.
There is a wide range of schema vocabularies available in both of these tools. All you need to do is select one and fill in the information. After that, the tool will generate the code for you. Copy the generatedThe next step is to name your schema markup. code and paste it on your website.
Markup the desired webpage with the markup
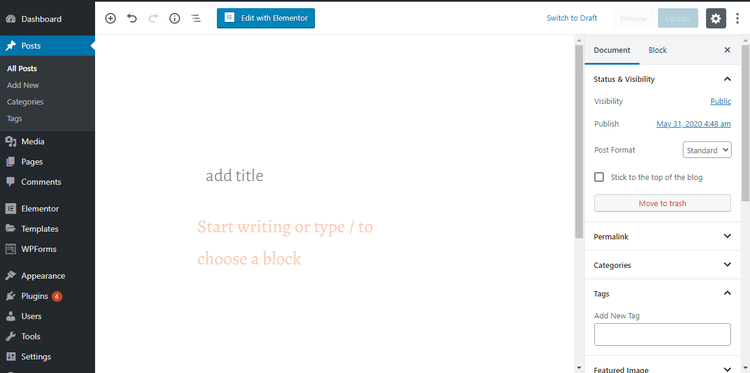
As with the previous steps, adding the code to your website is straightforward. Start by going to your WordPress dashboard and opening the post or page you wish to add schema markup to.
Activate the Custom Fields option first. If you activate custom fields, you can add various types of data and metadata that apply only to a specific post or page. Schema markup can be used to add information to your web pages in this case.
Simply adding a new custom field will not suffice. Additionally, you will have to add some code to some of your theme files to tell WordPress what to do with it. It is possible, in some cases, to use custom fields simply to give readers more data. Some of them can be used to add new behaviors to your posts or pages.
Search engines and browsers only need some information in this case.
Here’s how:
- Go to the top right corner of your screen and click on three dots.
- Click on Preferences.
- Select Custom Fields under Advanced Panels.

After you’ve enabled Custom Fields, go to your post or page and scroll down to the bottom where Custom Fields Settings will appear. Add a new custom field by selecting Enter New under Add New Custom Field.

The next step is to name the schema markup. Since we wanted to add an article markup, we named ours “Article.”. Search engines and browsers will see this as an article. It is entirely up to you how you name your custom field.
Readers may then see additional information such as the author’s name in the resulting rich snippet. Inspiring trust in people looking for information on a subject could be beneficial if you’re an expert in that field.
After you name your schema markup, you can paste your code snippet into the Value field. In order to create more schema markup types for the same page or post, you simply need to paste the second bit of code below the first. As many as you like.
Once you’re finished, click Add Custom Field, scroll to the top of the page, and click Update to save your changes. After adding a new custom field to your post or page, you must tell WordPress what to do with it.
In this case, you need to add code to your header.php file to tell WordPress to access your custom fields.
Make sure you back up your website first, as any mistakes you make here could break your site. Also, it’s best to create a child theme so that the changes won’t be lost when you update your theme.
Please add the following code to your header.php file:
<?php
$schema = get_post_meta(get_the_ID(), 'schema', true);

if(!empty($schema)) {
 echo $schema;
}
?>
Go to Appearance > Theme Editor to find your header.php file. On the right, you will see a number of files, including the header.php file.
Click here to access it. A new window will appear where you can edit the file. You should paste the code right before the closing tag.

Reload your site in a browser after clicking the Update File button. Well done! You have successfully added schema markup to your website.
You should validate your page to ensure that there are no errors and that the markup is working properly.
Validate structured data using Google’s Structured Data Testing Tool
To test your website’s schema markup, you can use Google’s Structured Data Testing Tool. The only thing you need to do is open the tool and enter the URL of the page you want to test. The tool will scan the page and display all the structured data it finds. It will also tell you if there are any errors, which is useful if you have written your structured data by hand.
Alternatively, you can paste your markup into the tool directly to check for errors before adding them to your website.
Schema Markup Puts You Ahead of the Competition
A website can benefit greatly from schema markup, and it’s usually quite simple to implement. This article shows you how to add Schema markup to your website using a plugin, or manually as we did in this article. Schema markup is an excellent way to increase your site’s clickthrough rate. Utilizing a holistic SEO plugin can help you achieve even better SEO results.
